I have spent thirty years at this bench; most of that time was spent fighting wood because I was too stubborn to admit my tools were dull. There is no greater lie in the workshop than a factory edge. To truly master the craft, you must commit to Sharpening Chisels by Hand until the steel reflects your own tired eyes.
THE WORKBENCH
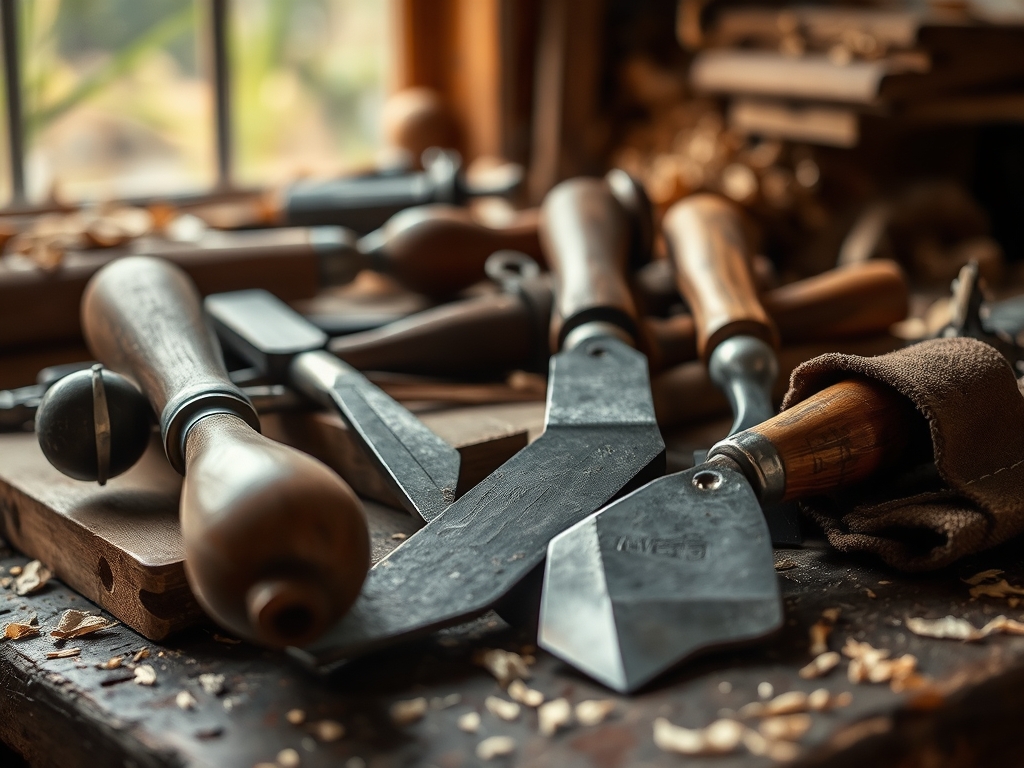
My shop standards are built on a foundation of high carbon steel and water stones. When you pull a chisel from its roll, you are holding a tool that has likely seen more history than you have. I prefer vintage Marples or older Stanley 750s because the temper of the steel is consistent; it holds an edge without being so brittle that it chips on a stray knot. You need a reliable set of stones to get the job done. I keep a 1000 grit for establishing the primary bevel, a 6000 grit for the secondary, and an 8000 grit for the final polish.
You also need a flat surface. I use a thick slab of granite or a heavy glass plate with sandpaper for the initial flattening. If the back of your chisel isn't plumb and flat, the finest edge in the world won't save your joinery. A marking gauge and a solid bench vice are your best friends here. You have to treat the steel like it is alive. If you push it too hard or let it get too hot, you will ruin the seasoning of the metal. Quality tools are an investment in your sanity. I have seen men try to sharpen with cheap oil stones from the hardware store; they usually end up with a tool that is more of a wedge than a cutting instrument.
SHOP HOURS
The pace of the craft is not dictated by a clock. It is dictated by the resistance of the wood. If you are rushing to finish a set of dovetails, you will inevitably skip the sharpening bench. That is a mistake that costs you hours of sanding later. I tell my apprentices that if they aren't spending at least twenty minutes on a dull tool, they aren't doing it right.
This is not a task for the impatient. You have to find a rhythm. The sound of the steel on the stone tells you everything you need to know. A coarse stone has a guttural, grinding sound; a finishing stone sings with a high-pitched hiss. You learn to feel the torque in your wrists as you maintain the angle. There are no shortcuts to a mirror finish. If you try to jump from a 1000 grit to an 8000 grit, you will spend all day trying to remove scratches that should have been handled by a 4000 grit stone. Respect the sequence.
THE REAL WORK
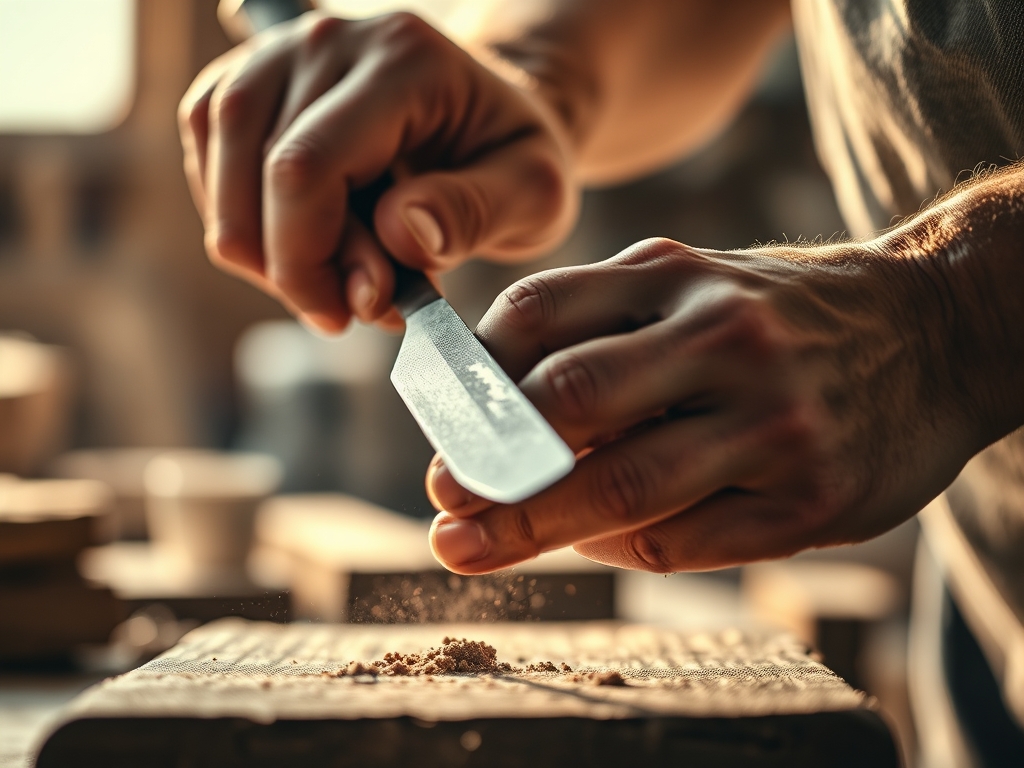
1. Flattening the Back
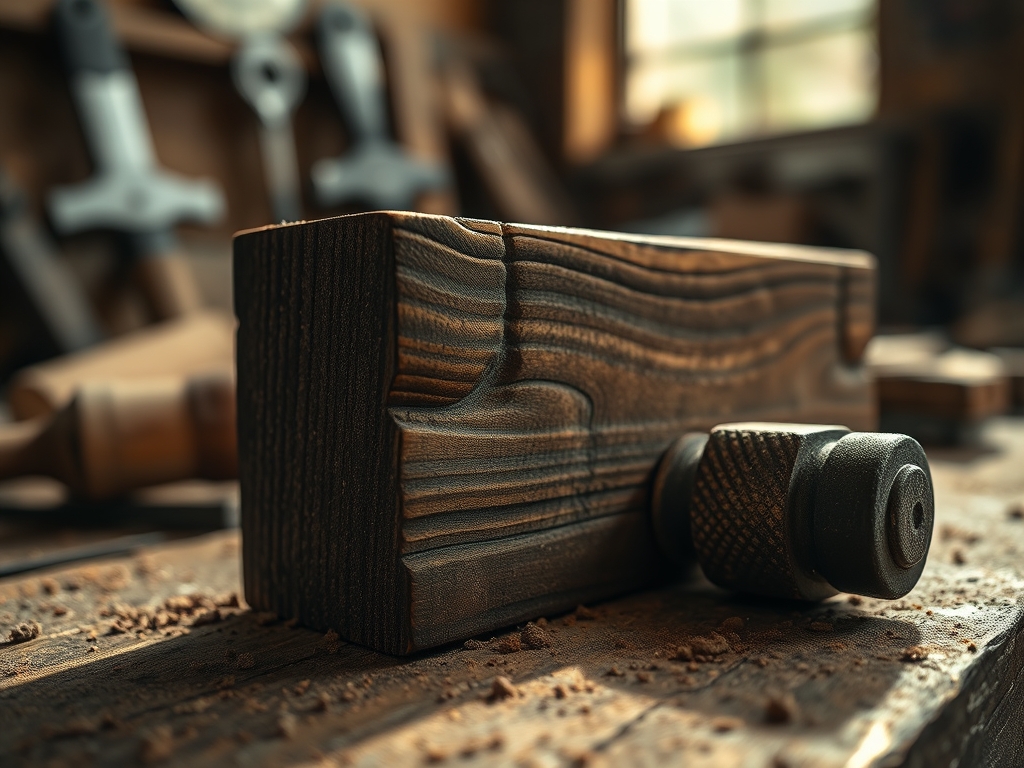
The back of the chisel is the most important part of the tool. It acts as a reference surface for every cut you make. I start by rubbing the back across a coarse diamond plate or sandpaper on glass. You must keep your pressure even; if you tip the tool, you will create a belly that makes it impossible to pare a joint flush.
Trade Secret: Use a Sharpie to color the entire back of the chisel before you start. As you grind, the ink will disappear where the metal is hitting the stone. If ink remains in the center, your chisel is hollow; if it remains on the edges, your chisel is crowned. Never move to the next grit until every speck of ink is gone.
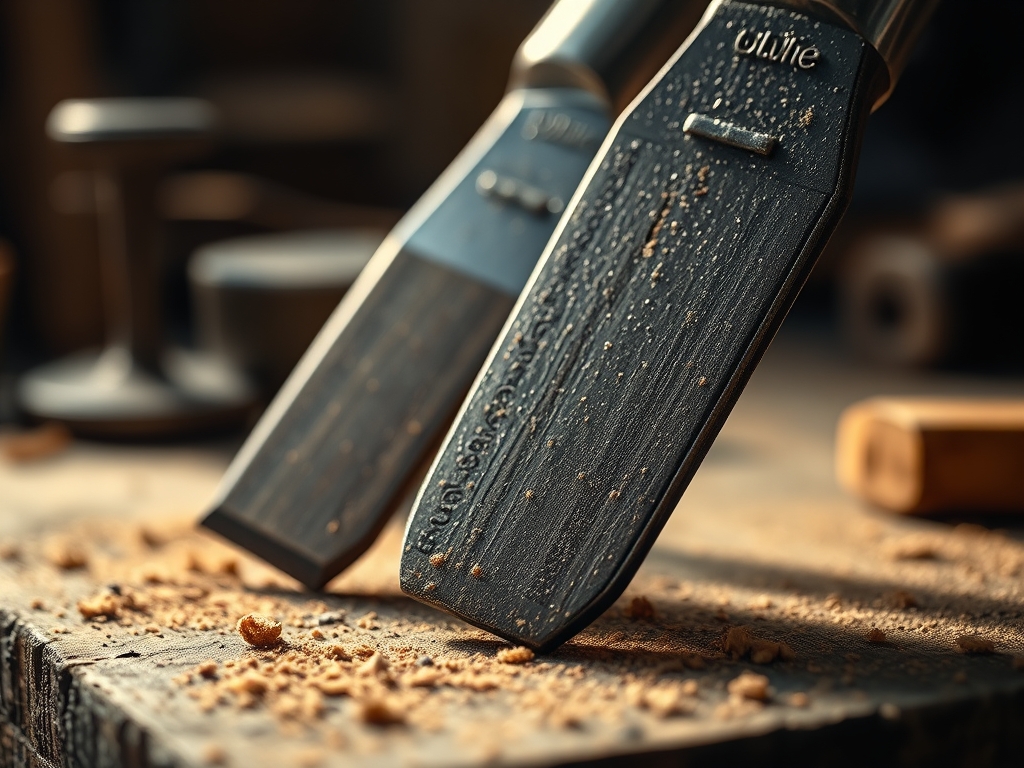
2. Establishing the Primary Bevel
Most bench chisels come with a 25 degree primary bevel. I use a honing guide for this step because it ensures the edge stays perfectly square to the sides. I work the 1000 grit stone until I feel a consistent burr forming along the entire length of the back. This burr is the signal that the two planes of the steel have finally met.
Trade Secret: Watch the slurry. As you work the stone, a paste of water and steel particles will form. This slurry actually helps the cutting process. If your stone gets too dry, the friction will create heat that can draw the temper out of the steel, making it soft and useless. Keep it lubricated.
3. Honing the Secondary Bevel
I slightly increase the angle to 30 degrees for the secondary bevel. This creates a stronger edge that won't crumble when you hit it with a mallet. I move to the 6000 grit stone here. It only takes about ten or fifteen strokes to create this tiny micro-bevel. This is where the tool starts to become dangerous.
Trade Secret: Use the "Pull Stroke" only for the final few passes on your finishing stone. Pushing the edge into the stone can sometimes lead to microscopic chipping. Pulling the tool toward you aligns the steel fibers and creates a cleaner apex.
4. The Final Polish and Stropping
The 8000 grit stone is where the magic happens. After a few passes there, I move to a leather strop charged with green chromium oxide paste. This removes the final remnants of the burr and leaves a mirror finish. You should be able to shave the hair off your arm with zero resistance.
Trade Secret: When stropping, never let the edge lead. You must always move the chisel away from the cutting edge. If you catch the leather, you will round over that perfectly honed tip and have to go back to the 6000 grit stone to fix your mistake.
HARD EARNED LESSONS
Tool maintenance is a daily ritual. I keep a rag soaked in camellia oil near my bench. Every time I finish using a chisel, I wipe it down. Sweat from your hands is acidic and will pit high carbon steel overnight. If you see a spot of rust, don't wait; take it to the stone immediately.
Sourcing the raw stuff is getting harder. If you are buying new, look for O1 or A2 tool steel. O1 is easier to sharpen by hand, while A2 holds an edge longer but requires more elbow grease. I prefer O1 for my fine paring chisels and A2 for my heavy mortise work.
The Save: I have messed this up plenty. First, I have dropped a freshly sharpened chisel on a concrete floor. The fix? Don't panic. You have to grind past the chip on a high speed grinder, but go slow and dip the steel in water every two seconds to keep it cool. Second, I have "over-sharpened" a back, creating a rounded heel. I fixed this by using a drawknife technique on a coarse stone to reset the flat. Third, I once used a dry grinder and turned the tip blue. That steel is dead. You have to grind back past the blue metal until you hit silver, "hard" steel again.
Workshop longevity means your tools should outlive you. If you treat a chisel with respect, keep it oiled, and never use it as a pry bar, it will still be cutting clean tenons a hundred years from now.
THE CLEAN UP
There is a specific kind of silence that falls over the shop after a sharpening session. The stones are rinsed and set to dry; the steel is gleaming in the rack. When you take that first slice out of a piece of walnut and the shaving comes off like a ribbon of silk, you know the work was worth it. A sharp chisel doesn't just make the work easier; it makes the work better. It gives you the confidence to tackle complex joinery knowing the tool will go exactly where you point it.
TRADE SECRETS: FAQ
How often should I sharpen my chisels?
Sharpen the moment you feel resistance or see a "glint" on the edge. A sharp tool cuts wood fibers; a dull tool crushes them. If you have to lean your body weight into a cut, it is time to go to the stones.
Do I really need expensive water stones?
No, you can use "Scary Sharp" (sandpaper on glass) to start. However, stones are more economical over time. High quality stones provide a flat, consistent surface that sandpaper simply cannot match for long term tool maintenance.
Why is my chisel edge chipping?
Your angle might be too steep or the steel might be too brittle. Try increasing your secondary bevel to 35 degrees for heavy work. If it still chips, you may have overheated the steel during grinding, ruining the temper.
Can I use oil instead of water?
You must choose one and stick to it. Oil stones are slower but stay flat longer. Water stones cut faster but require frequent flattening. Never mix the two, as oil will ruin a water stone's ability to absorb liquid.