
Close your eyes and run your fingers along that jagged, splintered edge of freshly cut walnut or oak. It is raw, defiant, and honestly a bit of a hazard to your fingertips. The transition from a rough-sawn block to a refined silhouette is the most electric part of the build. We are moving beyond the heavy demolition of the saw and into the surgical precision of hand-shaping. Using a Wood Rasps is the secret to bridging that gap between a square hunk of timber and a piece of art that feels ergonomic in the hand. Unlike a file, which shears away tiny ribbons of metal, a rasp is a beast of burden. It features individual, hand-cut or machine-punched teeth that act like a thousand tiny chisels. Each stroke removes significant material while leaving a textured surface ready for refinement. You can feel the vibration through the handle as the teeth bite into the cellulose fibers; it is a tactile conversation between your muscle memory and the density of the grain.
THE STUDIO KIT
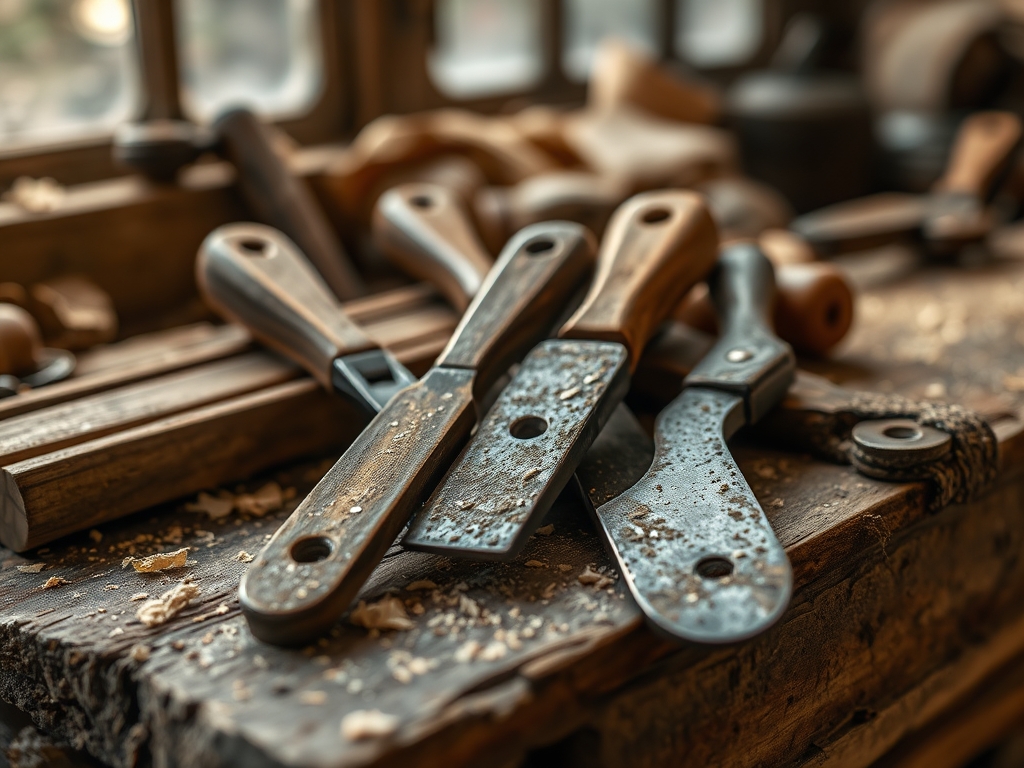
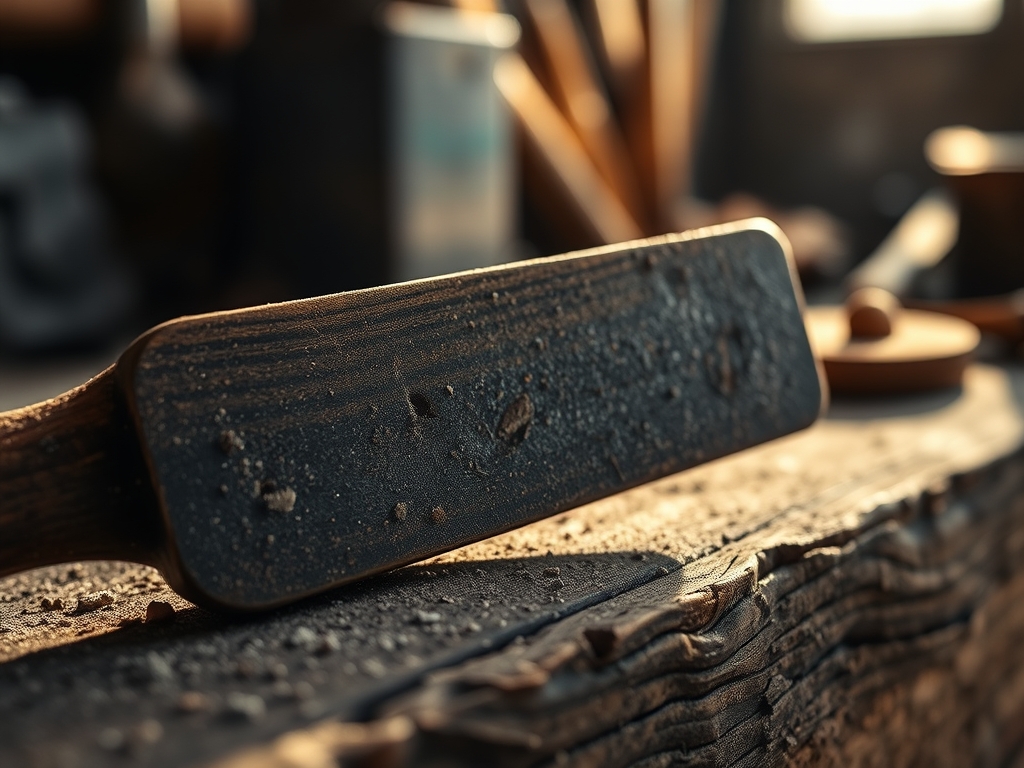
To master the art of shaping, you need a kit that respects the tensile strength of your medium. At the center of your bench should be a cabinet rasp; specifically, a grain 7 or 9 for rapid removal and a grain 11 for finishing. These tools are often measured by their "stitch," which refers to the density of the teeth on the blade. A high-quality rasp is forged from high-carbon steel to ensure the teeth do not dull when meeting the silica-rich vessels of exotic hardwoods. You will also need a stiff wire brush or a dedicated "rasp card" to clear away the packed sawdust that clogs the teeth; a phenomenon known as "pinning" that can cause deep, unwanted scratches.
Beyond the rasp, keep your digital calipers close by to monitor the thickness of your workpiece. You will also need a marking awl to scribe your boundary lines, as pencil lead often gets obliterated by the aggressive action of the tool. For material substitutions, if you find yourself without a premium French-cut rasp, you can utilize an oscillating tool with a sanding attachment for bulk removal. However, you will lose that intimate, manual control over the structural integrity of the curve. For the final smoothing phase, have a selection of card scrapers and a bone folder ready to burnish the edges of softer species like pine or cedar.
THE TEMPO
The "Maker's Rhythm" is not about speed; it is about the harmonic oscillation of your body weight. Shaping a standard furniture leg or a tool handle typically breaks down into three distinct temporal phases. The Aggressive Reduction Phase takes about thirty minutes. This is high-energy work where you are leaning into the tool to remove the "bulk" waste. You are looking for a steady, rhythmic "shuck-shuck" sound.
Next is the Refinement Phase, which requires roughly forty-five minutes of focused, lighter strokes. Here, the tempo slows down as you switch to a finer-stitch rasp and begin cross-hatching your strokes to level out high spots. Finally, the Surface Preparation Phase takes twenty minutes. This is the quietest part of the process where you use scrapers to remove the rasp marks. Total active time is usually under two hours, but the mental focus required to maintain symmetry makes it feel like a meditative marathon.
THE CORE METHOD
1. Scribing the Boundary
Before the steel touches the wood, you must define your "no-fly zone." Use your marking awl to deeply scribe the finished profile into the face of the wood. This physical groove provides a tactile stop for the rasp. Mastery Tip: Scribing creates a localized fracture in the surface fibers, which prevents the wood from "splintering out" when the rasp teeth exit the edge of the board. This protects the porous end grain from unsightly blowouts.
2. The Diagonal Attack
Position your rasp at a 45-degree angle to the grain direction. Push the tool forward and across the workpiece in a sweeping motion. Do not pull back with pressure; rasps are one-way cutting tools. Mastery Tip: Attacking the grain at an angle reduces the "chatter" or vibration of the tool. This mechanical advantage ensures the teeth shear the fibers cleanly rather than crushing them, maintaining the structural density of the wood.
3. The Rolling Wrist Technique
To create a perfect radius, you cannot move in straight lines. As you push the rasp forward, slowly rotate your wrist to follow the curve of the wood. This "rolling" motion blends the facets together into a seamless arc. Mastery Tip: This technique utilizes the ergonomic pivot point of your elbow to ensure consistent pressure. If you stop the motion mid-stroke, you create a "flat spot" that will be visible once a high-gloss finish is applied.
4. Clearing the Gullets
Every few strokes, use your wire brush to flick the dust out of the rasp teeth. If the teeth are clogged, they cannot bite, and the tool will simply slide over the surface, generating heat. Mastery Tip: Excessive heat during shaping can cause thermal expansion in the metal teeth, leading to premature dulling. Keeping the gullets clear ensures the tool stays cool and the cut remains aggressive.
THE TECHNICAL LEDGER
Maintenance & Longevity: Never stack your rasps in a drawer where the teeth can rub against each other. This causes microscopic chipping of the cutting edges. Store them in a tool roll made of heavy canvas or on a magnetic rack. Every few months, apply a light coat of camellia oil to prevent oxidation.
Material Variations:
- Sustainable: Bamboo ply is surprisingly abrasive; use a coarser rasp than you think you need.
- Premium: Ebony and Cocobolo are extremely dense; use a "dead smooth" rasp to avoid tearing the oily fibers.
- Recycled: When working with reclaimed pallet wood, use a jeweler's saw to cut away any hidden nails before rasping, as a single piece of iron will ruin your rasp teeth instantly.
The Correction:
- The Gouge: If you slip and create a deep pit, do not try to sand it out. Use a "burnisher" to compress the surrounding fibers or fill it with a mixture of fine sawdust and hide glue.
- The Flat Spot: If a curve looks "clunky," use a pencil to scribble over the area. Rasp only until the pencil marks disappear; this highlights the uneven geometry.
- The Tear-Out: If the end grain splinters, dampen the area with a little water to swell the fibers before making very light, shearing cuts with a fine rasp.
Studio Organization: To prevent degradation, store your shaped projects in a climate-controlled area with roughly 45 percent humidity. Extreme shifts in moisture will cause the wood to "move," potentially warping the precision curves you just spent hours perfecting.
THE FINAL REVEAL
Look at that! The transformation is staggering. What started as a rigid, unyielding block is now a fluid, organic form that begs to be touched. The light catches the curves perfectly because you respected the physics of the grain. There is a specific kind of pride in knowing that no machine could have achieved that exact contour; it required the intuition of your hands and the bite of the steel. Your project now has a "soul" that feels intentional and professional.
STUDIO QUESTIONS
Why is my rasp leaving deep scratches?
You are likely experiencing "pinning," where waste material clogs the teeth. Clear the teeth frequently with a wire brush. Also, ensure you are not applying excessive downward pressure, which forces the teeth too deep into the porous grain.
Can I use a metal file instead of a wood rasp?
Metal files have much finer teeth designed for shearing, not hogging out material. They will clog almost instantly on wood. Using a Wood Rasps is necessary because the larger "gullets" between teeth allow wood chips to escape efficiently.
How do I know when to switch to sandpaper?
Switch once the overall shape is achieved and the "facets" created by the rasp are consistent. If you can no longer see the scribed awl line, it is time to transition to a card scraper or 120-grit abrasive.
What is the best way to hold the wood?
Use a sturdy bench vise with "soft jaws" made of cork or leather. This prevents the vise from crushing the wood fibers while providing the tensile resistance needed to push against the tool without the workpiece shifting.

