
Imagine the smell of an old library mixed with the sharp, clean scent of a cedar forest. That is the aroma currently filling my studio as I lay out a thick, five ounce slab of vegetable tanned leather. It feels cool to the touch and slightly oily; a testament to the high lipid content that keeps the fibers supple. Today, we are diving into the visceral world of Hand Stitching a Journal Cover to ensure your thoughts survive the chaos of travel and time. This is not just a craft project. It is an exercise in structural engineering on a miniature scale. When you run your thumb across the grain, you can feel the density of the protein fibers that give this material its incredible tensile strength. We are going to transform this raw, porous hide into a protective exoskeleton for your notes. Grab your coffee and clear your workbench because we are about to marry raw physics with high fashion.
THE STUDIO KIT

To achieve a professional finish, you need more than just a needle and thread. You need tools that respect the material physics of the leather. Start with a high quality rotary cutter or a sharp Japanese skiving knife to ensure clean, perpendicular edges. You will also need a stitching pony to hold the workpiece, allowing you to maintain consistent tension with both hands. For the holes, we use diamond chisels or a stitching awl; these do not just punch holes but create small diagonal slits that allow the thread to sit flush against the surface.
Our primary material is top grain leather, which retains the strongest outer layer of the hide. If you are looking for Material Substitutions, consider heavy duty waxed canvas for a rugged, water resistant alternative, or cork fabric for a vegan option that offers surprisingly high dimensional stability. You will also need poly-bonded nylon thread (0.8mm gauge) because it resists rot and friction better than cotton. Finally, do not forget the bone folder for creating crisp, permanent creases in the leather's cellular structure.
THE TEMPO
The "Maker's Rhythm" is a state of flow where your heartbeat matches the steady thwack of the mallet. Expect to spend approximately four to five hours on this project. The Preparation Phase (measuring and cutting) takes about forty five minutes. This is the most critical stage because an error of even one millimeter can ruin the ergonomic fit of the cover.
The Perforation Phase takes another hour. This is where you use your calipers to mark your stitch lines and punch your holes with mathematical precision. Finally, the Stitching and Finishing Phase occupies the remaining time. Hand stitching is a meditative process. It is slow by design. Unlike a sewing machine, which uses a lockstitch that can unravel if one thread breaks, our manual saddle stitch creates an interlocking web of tension that is virtually indestructible.
THE CORE METHOD
1. Mapping the Grain
Before the first cut, examine the leather for "growth marks" or grain direction. Leather has more stretch in one direction than the other. Align your journal so the most tension will be applied against the grain to prevent sagging over time. Use precision calipers to mark your margins.
Mastery Tip: This is about anisotropy, the property of being directionally dependent. By aligning the journal spine against the grain, you utilize the natural protein alignment to prevent the leather from "bagging" or losing its shape after repeated opening and closing.
2. The Perfect Bevel
Use an edge beveler to remove the sharp 90 degree corners of your cut leather. This creates a rounded profile that is much more comfortable in the hand. Follow this by applying a small amount of water or gum tragacanth to the edge.
Mastery Tip: This prepares the edge for burnishing. By rounding the edge, you reduce the surface area prone to fraying. The moisture softens the hemicellulose in the leather fibers, allowing them to be compressed and fused together during the next step.
3. Friction Burnishing
Take a wooden slicker and rub the edges vigorously until they turn dark and shiny. You are looking for a "glassy" finish. This is not just for aesthetics; it seals the fibers against moisture and oils from your skin.
Mastery Tip: This process utilizes thermodynamics. The friction generates heat, which melts the natural waxes and tannins within the leather, creating a fused, waterproof seal through a process called mechanical bonding.
4. The Saddle Stitch Execution
Thread two needles on opposite ends of a single length of waxed thread. Pass one needle through the first hole, center the thread, and then pass both needles through every subsequent hole from opposite directions. Pull each stitch with even, firm pressure.
Mastery Tip: This creates a double-helix structural bond. If one thread is severed, the other thread remains locked in place by the friction of the leather's internal walls, ensuring the cover never falls apart.
THE TECHNICAL LEDGER
Maintenance & Longevity: To keep your wrap in peak condition, apply a light coat of neatsfoot oil or beeswax conditioner every six months. This replenishes the internal lubricants and prevents the fibers from becoming brittle.
Material Variations:
- Sustainable: Vegetable tanned leather uses tree barks and tannins rather than harsh chemicals.
- Recycled: Look for "bonded leather" alternatives made from factory scraps, though these have lower ply strength.
- Premium: Shell Cordovan is the gold standard, sourced from a specific muscle layer in a horse hide, offering zero porosity.
The Correction:
- Uneven Stitches: If your stitches look wavy, your awl was likely tilted. Fix this by using a stitching groover to create a recessed track for the thread.
- Loose Fit: If the cover is too big, the leather may have stretched. Lightly dampen the leather and dry it near (but not on) a heat source to induce fiber shrinkage.
- Thread Snapping: If your thread breaks, you are likely using too much force. Backstitch three holes, melt the end, and restart with a lighter hand.
Studio Organization: Store your leather flat in a climate controlled environment. Avoid high humidity, which can trigger mold growth in the porous collagen matrix, and avoid direct sunlight to prevent UV degradation of the natural dyes.
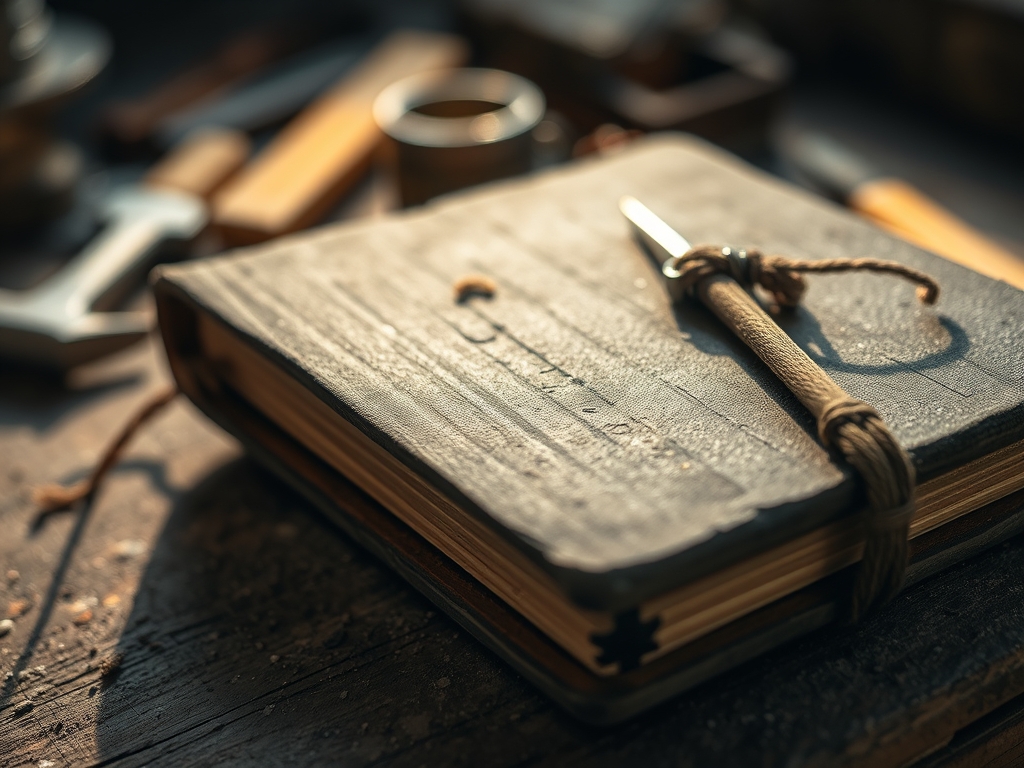
THE FINAL REVEAL
Look at that! The way the light catches the burnished edges and the rhythmic precision of the saddle stitch makes this feel like an artifact from another century. Your journal is no longer just paper; it is armored. The thick hide wrap provides a tactile weight that feels significant in your hand. Over the next few months, this leather will develop a patina, a unique darkening and sheen that records your history through every scratch and touch. It is a living shield for your most private thoughts.
STUDIO QUESTIONS
What is the best leather thickness for a journal?
A weight of 4oz to 6oz (1.6mm to 2.4mm) is ideal. It provides enough structural integrity to protect the paper without being too bulky to fold or carry comfortably in a bag.
Why use waxed thread for hand stitching?
Wax acts as a lubricant during the stitching process and then serves as a mechanical anchor once the stitch is set. It also protects the inner fibers from rot caused by moisture.
Can I use a regular sewing machine?
Most domestic machines lack the torque to pierce thick leather. Using one can timing-issue the motor or break the needle. Hand stitching is superior for durability and the classic aesthetic.
How do I fix a scratch on the cover?
For light scratches, use the heat from your thumb to rub the area. The friction redistributes the internal oils. For deeper gouges, a tiny drop of leather conditioner will usually darken the area to match.
What is the purpose of a bone folder?
A bone folder allows you to create high pressure creases without marring the grain surface. It compresses the leather fibers at the fold line, ensuring the cover stays closed when not in use.

