
The air in the studio smells like ozone and charred oak; it is the scent of potential energy waiting to be released. You know that specific frustration when a store bought tool slips out of a vintage brass screw head; it leaves a jagged scar on the metal and a bruise on your ego. We are ending that cycle today. Forging a Flat Blade Screwdriver is not just about shaping metal; it is about achieving a molecular marriage between the tool and the fastener. When you hold a piece of high carbon steel in the forge, you are manipulating its crystalline structure to ensure it never rounds off under pressure. We are looking for that perfect, tactile click when the blade seats into the slot. It feels solid and intentional. This project requires a deep understanding of grain direction and thermal expansion. We are not just making a utility item; we are engineering a legacy piece that respects the physics of torque. Grab your safety glasses and let us turn this raw hexagonal bar into a precision instrument that defies the strip.
THE STUDIO KIT
To begin this transformation, you need a high carbon steel source, specifically O1 tool steel or W1 water hardening steel. These alloys contain enough carbon to undergo a phase transformation during heat treatment, which is essential for maintaining a sharp, durable edge. You will also need a propane or charcoal forge capable of reaching 1,500 degrees Fahrenheit, a 2.5 pound cross peen hammer, and a sturdy anvil with a clean face. For the refinement stage, keep your digital calipers and a set of bastard files close by. The calipers are non negotiable; we are measuring the screw slot width down to the thousandth of an inch to ensure a "hollow ground" fit.
If you cannot source virgin tool steel, look for Material Substitutions like an old coil spring or a high quality automotive leaf spring. These are typically 5160 grade steel, which offers incredible toughness and decent edge retention. For the handle, choose a dense hardwood like Cocobolo or Hickory; these woods have a high janka hardness rating and a tight grain structure that resists splintering under heavy rotational force. You will also need an oscillating tool or a belt sander for the final shaping of the handle scales to ensure the ergonomics match your specific grip.
THE TEMPO
The Maker's Rhythm is all about patience and thermal management. Expect to spend approximately four to six hours on this build, depending on your proficiency with a hammer. The forging phase takes about ninety minutes; this is a high energy period of "strike while the iron is hot" cycles. You are working against the cooling rate of the metal, trying to move as much material as possible before the steel hits a dull red "black heat" where it becomes brittle.
Following the forge work, the annealing process requires a slow cool down, often overnight in a bucket of vermiculite, to soften the steel for filing. The "Refinement Movement" takes another two hours of precision filing and sanding. Finally, the heat treatment and tempering phase is a focused thirty minute window where physics dictates the final strength of your tool. Do not rush the cooling; internal stresses in the steel can cause microscopic fractures if the temperature drop is too violent.
THE CORE METHOD
1. Drawing Out the Taper
Heat the tip of your steel bar to a bright cherry red. Using the edge of the anvil, strike the metal at a slight angle to draw the material forward. This increases the length while decreasing the thickness. You are looking to create a long, elegant taper that transitions smoothly from the hexagonal body to the flat blade.
Mastery Tip: Observe the grain flow of the metal. By hammering the sides consistently, you are aligning the internal carbides in a longitudinal direction. This increases the tensile strength of the blade, making it far less likely to snap when you apply maximum torque to a stubborn screw.
2. Squaring the Shoulders
Once the taper is established, use the peen of your hammer to define the "shoulders" where the blade meets the shank. This creates a mechanical stop for the handle ferrule. Use your calipers to ensure the thickness of the flat section is slightly oversized; you want extra "meat" on the bone for the precision filing stage.
Mastery Tip: This step relies on plastic deformation. If the steel is too cold, you risk "shutting" the metal, which creates a cold shunt or a fold. Always return the piece to the forge if the color fades to a dark plum to maintain structural integrity.
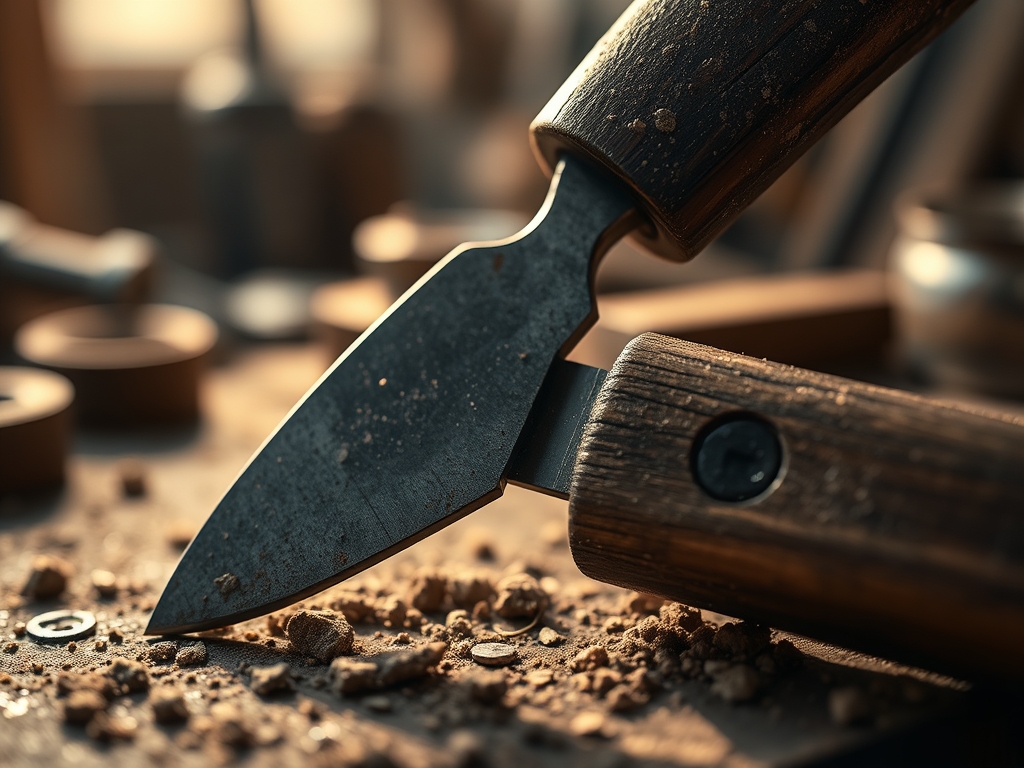
3. Hollow Grinding the Tip
This is the secret to a professional fit. Instead of a simple wedge shape, use a round file or a small diameter sanding drum to create a slight concave curve on both sides of the blade tip. This ensures the tip sits deep in the screw slot and contacts the entire vertical wall of the fastener rather than just the top edges.
Mastery Tip: This geometry utilizes friction physics to prevent "cam out." A wedge shaped driver naturally wants to push itself out of the slot under pressure; a hollow ground driver locks in tighter as more force is applied.
4. Hardening and Tempering
Heat the finished blade until it is no longer magnetic; this indicates it has reached its critical temperature. Quench the tip in preheated oil. The steel is now "glass hard" and very brittle. Clean the metal to a bright shine and gently reheat it until it turns a "wheat straw" or light bronze color. This is the tempering process.
Mastery Tip: Tempering is a trade off between hardness and toughness. By "drawing the temper" to a straw color, you are relaxing the internal martensitic structure just enough to prevent shattering while retaining a Rockwell hardness that resists deformation.
THE TECHNICAL LEDGER
Maintenance & Longevity: Steel is porous at a microscopic level and prone to oxidation. After every use, wipe the blade with a light coat of camellia oil or paste wax. This creates a hydrophobic barrier that prevents rust from pitting the surface.
Material Variations: For a sustainable approach, upcycle an old high speed steel (HSS) drill bit. While difficult to forge due to its high tungsten content, it offers incredible wear resistance. For a premium build, use S7 shock resisting tool steel, which is specifically engineered to withstand the impact of pneumatic tools.
The Correction:
- The Snap: If the tip breaks during use, your temper was too "cold." Fix: Re-grind, re-harden, and temper to a darker bronze color.
- The Twist: If the blade deforms like a pretzel, the steel was not hardened correctly or the alloy was too low in carbon. Fix: Verify your steel grade and ensure you hit the non magnetic point before quenching.
- The Slip: If the tool jumps out of the screw, the tip is too thick or "wedged." Fix: Use a jeweler's saw or a fine file to deepen the hollow grind.
Studio Organization: Store your custom drivers in a vertical rack lined with felt. Avoid magnetic strips for high carbon tools; magnetized screwdrivers attract microscopic metal filings that can gall and scratch the delicate finish of your fasteners.
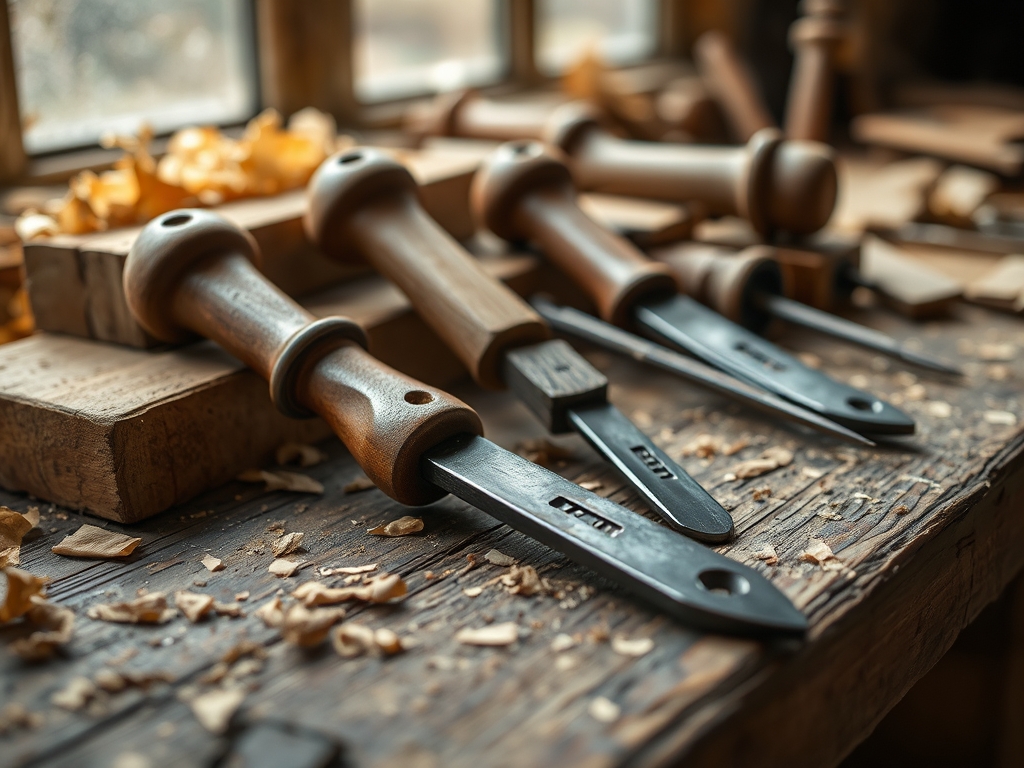
THE FINAL REVEAL
Look at that finish! The transition from the rugged, forged texture of the shank to the mirror polished, hollow ground tip is pure industrial art. When you slot this beauty into a screw, there is zero wiggle room; it feels like the tool and the fastener have become a single solid unit. The ergonomic handle you carved fits the palm of your hand perfectly, allowing for a "power grip" that makes even the most rusted bolts surrender. You have moved beyond being a consumer; you are now a maker who understands the soul of the machine. This is not just a screwdriver; it is a testament to your mastery over fire and steel.
STUDIO QUESTIONS
Why is hollow grinding better than a standard wedge?
Standard wedges create upward force that leads to "cam out" and stripped heads. A hollow ground tip provides parallel contact with the screw slot walls, ensuring maximum surface area engagement and preventing the tool from slipping out under high torque.
What happens if I quench the steel in water instead of oil?
Water cools the metal much faster than oil, which can cause extreme internal stress. For many high carbon steels, this rapid thermal shock leads to "quench cracks" or even the catastrophic shattering of the tool during the cooling process.
How do I know if my steel is high carbon?
Perform a "spark test" with a grinder. Low carbon steel produces long, yellow sparks with few bursts. High carbon steel creates a dense shower of shorter, brilliant white sparks that "explode" into many fine branches, indicating the presence of carbon.
Can I forge a screwdriver from a common rebar?
Rebar is generally "mild steel" with inconsistent carbon content. While you can shape it into a screwdriver, it will not hold an edge or harden properly. It will likely bend or round over the first time you encounter a stubborn screw.

