
Imagine the bite of cold iron against your palms before the heat of the forge turns it into something fluid and alive. There is a specific, heavy weight to a half inch mild steel bar that promises stability once we master its internal structure. We are diving deep into the art of Forging a Campfire Tripod today; a project that demands we respect the laws of physics and the thermal conductivity of metal. This is not just about hanging a pot of stew. It is about creating a structural masterpiece that can withstand the expanding and contracting forces of an open flame without buckling under the weight of a heavy cast iron Dutch oven. We are looking for that perfect balance of tensile strength and portability. As we work the metal, we are essentially rearranging the grain of the steel to ensure it handles the vertical load with grace. Grab your safety gear and let us get into the grit of the studio.
THE STUDIO KIT

To build a tripod that will last for generations, you need more than just a hammer and an anvil. We are looking for low carbon mild steel for the legs; specifically three pieces of round or square bar at 48 to 60 inches in length. Mild steel is our choice because it is forgiving during the forging process and possesses excellent ductility. You will also need a heavy duty blacksmiths hammer (a 2.5 pound cross peen is perfect), a sturdy anvil with a clean face, and a pair of wolf jaw tongs to grip various thicknesses of metal securely.
For the precision work, keep your calipers and a soapstone marker handy to ensure all three legs are identical in length. You will also need a drill press or a hot punch to create the holes for the header bolt or chain. If you want to go the traditional route, a welding torch or a forge is necessary to reach the critical temperature where the steel becomes plastic.
Material Substitutions: If you cannot source mild steel, you can use rebar for a rugged, industrial look, though its high carbon content makes it more prone to snapping if quenched too quickly. For a lightweight version, stainless steel offers incredible corrosion resistance, but it is much harder on your tools and requires more force to move.
THE TEMPO
The "Maker's Rhythm" for this project is a steady, percussive dance. You cannot rush the heat. Expect to spend about 30 minutes on the preparation phase, which includes measuring, marking, and cleaning your stock. The shaping phase is the heart of the work, taking roughly 2 hours as you taper the ends and forge the hanging hooks. Finally, the assembly and finishing phase takes about 45 minutes. This includes the final burnishing and applying a protective oil coating. Total time? Budget a solid afternoon. The rhythm is heat, strike, measure, repeat. If you lose the tempo, you lose the heat, and the steel becomes stubborn.
THE CORE METHOD
1. Tapering the Feet
We begin by heating the last four inches of each leg to a bright cherry red. Using a series of rhythmic strikes, we taper the ends to a dull point. This increases the surface pressure when the tripod is set on the ground, allowing it to bite into the earth for better stability.
Mastery Tip: Always rotate the metal 90 degrees between strikes. This maintains the structural integrity of the grain and prevents the steel from "fish-mouthing" or splitting at the tip.
2. Forging the Header Eyes
The top of each leg needs a hole or an eyelet. We will use a hot punch to displace the metal rather than drilling it out. This preserves the cross sectional area of the steel, ensuring the pivot point remains the strongest part of the assembly.
Mastery Tip: By punching the hole while the metal is hot, you create a "work hardened" rim around the orifice. This utilizes molecular compression to prevent the metal from stretching or warping under the weight of the cooking pot.
3. Crafting the S-Hook and Chain
The center of the tripod requires a heavy gauge S-hook. We will bend a shorter piece of steel into a double curve, ensuring the ends are rounded to prevent snagging. This hook will interface with a steel chain, allowing for adjustable height over the flames.
Mastery Tip: The curves of the S-hook should be symmetrical to distribute the gravitational load evenly. Any slight imbalance creates a torque force that could cause the tripod to shift during use.
4. The Final Burnish
Once the pieces are forged, we use a wire brush or an oscillating tool with a buffing attachment to remove the fire scale. While the metal is still warm (but not glowing), we rub it down with beeswax or linseed oil.
Mastery Tip: This process creates a polymerized barrier through a chemical reaction between the oil and the warm metal. It seals the porous surface of the steel, providing a natural, food safe rust resistance.
THE TECHNICAL LEDGER
Maintenance & Longevity: Steel is durable but susceptible to oxidation. After every camping trip, wipe the legs down with a dry cloth. If you notice any orange dusting, use a fine grit sandpaper to remove the rust and reapply a thin coat of vegetable oil. This maintains the patina while protecting the metal.
Material Variations:
- Sustainable: Source old wrought iron fences or recycled construction rebar.
- Premium: Use titanium rods for an ultralight, indestructible set, though this requires specialized gas shielding for welding.
- Artisan: Incorporate a "pineapple twist" in the center of the legs using a vise and a heavy wrench to add aesthetic torsional detail.
The Correction:
- Uneven Legs: If the tripod wobbles, check the leg lengths with your calipers. Fix this by reheating the longest leg and "upsetting" the end (striking it vertically) to shorten it.
- Brittle Hooks: If a hook snaps, you likely quenched it in water too fast. Fix this by annealing the replacement; heat it up and let it cool slowly in a bucket of sand.
- Binding at the Pivot: If the legs do not swing freely, the eyelets are misaligned. Use a round file to smooth the interior of the holes until the friction is minimized.
Studio Organization: Store your tripod legs bundled together with a heavy leather strap. This prevents the metal from clanging and scratching the protective finish. Keep them in a dry, elevated area of your shop to avoid moisture contact from concrete floors, which can cause pitting corrosion.
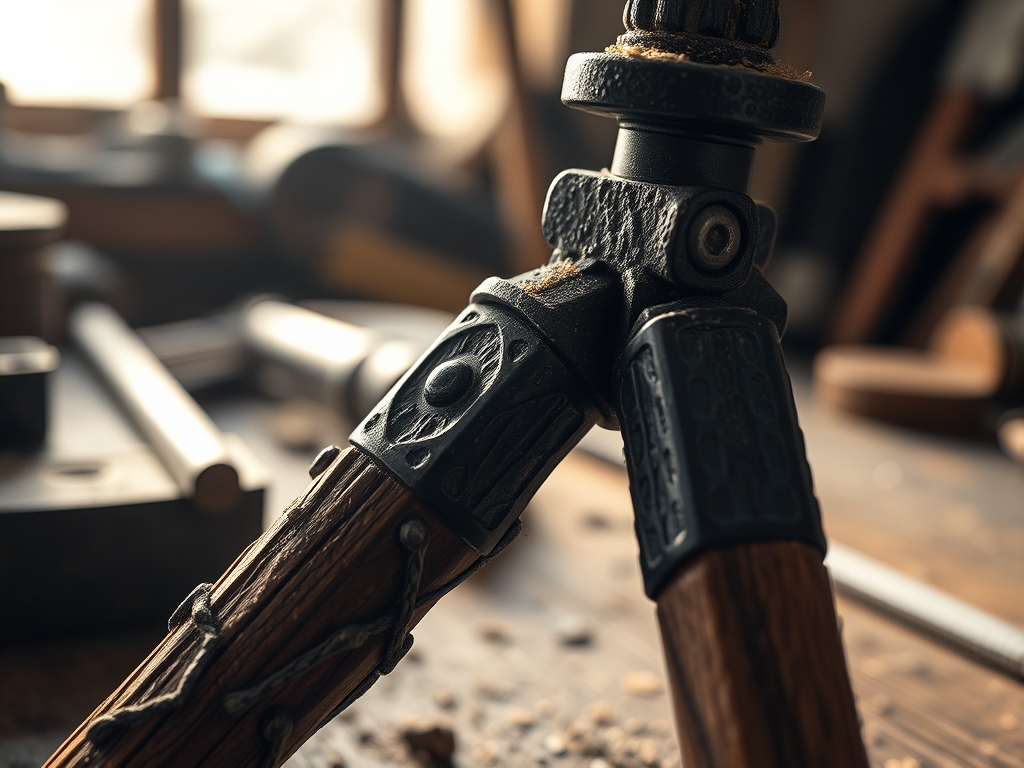
THE FINAL REVEAL
Look at that silhouette! There is something incredibly satisfying about the way those three legs come together to defy gravity. The dark, burnished finish of the forged steel looks professional and rugged; a far cry from the flimsy, store bought versions. When you set this up over a crackling fire, you are not just cooking; you are showcasing a piece of functional geometry. The way the light hits the hammered facets of the steel tells the story of every strike you made. It is sturdy, it is elegant, and it is ready to hold the heaviest feast you can throw at it.
STUDIO QUESTIONS
What is the best steel thickness for a tripod?
A half inch diameter is the gold standard for stability. It provides enough tensile strength to support heavy cast iron without being too heavy to carry to the campsite.
Can I make this without a forge?
Yes, you can use a propane torch to heat smaller sections, though it takes longer to reach the necessary plasticity for tapering and punching holes in thicker stock.
Why use beeswax instead of paint?
Beeswax creates a non toxic vapor barrier that does not chip or peel. Paint can off gas harmful chemicals when exposed to the high heat of a campfire.
How do I prevent the legs from sinking?
Forging a flared taper at the base increases the surface area. This distributes the weight more effectively across the soil, preventing the tripod from tilting as the ground warms.

