
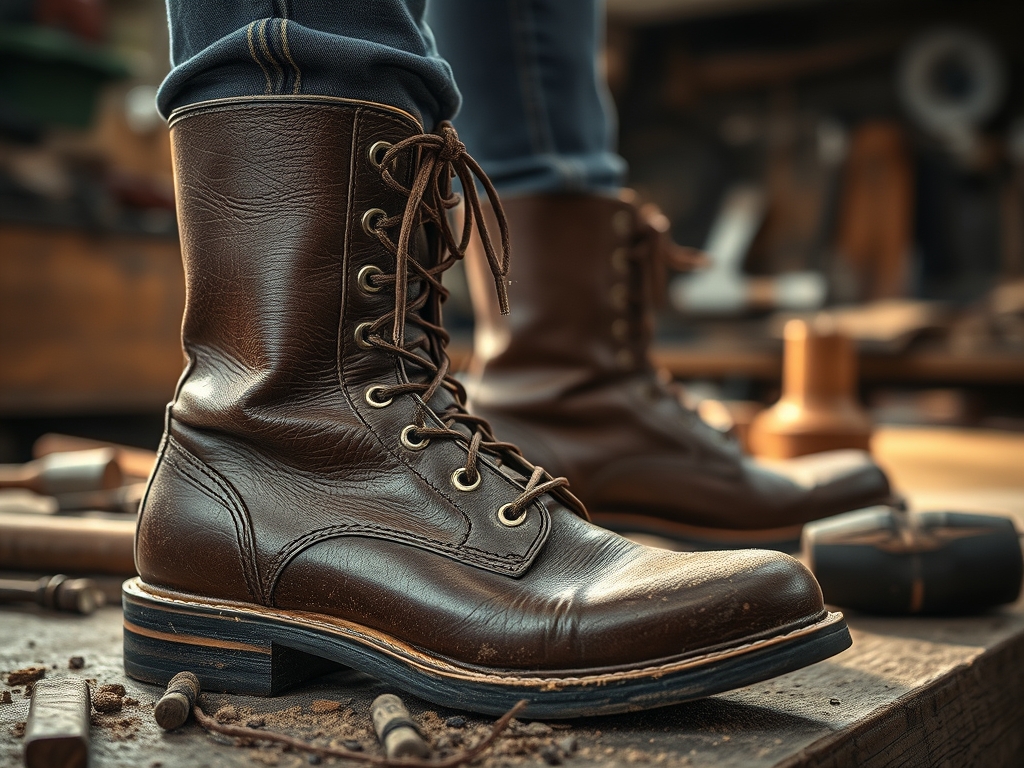
Imagine the scent of worn-in cowhide; it is a heavy, earthy musk that tells a story of long shifts and hard pavement. You are holding your favorite pair of work boots, but they are currently a disaster of salt rings and oil splatters. The leather feels stiff and parched under your fingertips. It has lost its tensile strength and that buttery, tactile quality we both love. We are not tossing these into the landfill. Instead, we are diving into the art of Hand Dyeing Leather Boots to transform those unsightly stains into a deep, mahogany patina that looks intentional and expensive. The physics of this process is brilliant. We are essentially manipulating the porous structure of the animal hide to accept new pigment deep within its fibers. By the time we are done, the surface tension of the leather will be restored, and those old stains will be nothing more than "character" hidden under a rich, professional finish. It is about chemistry, grit, and a little bit of studio magic.
THE STUDIO KIT
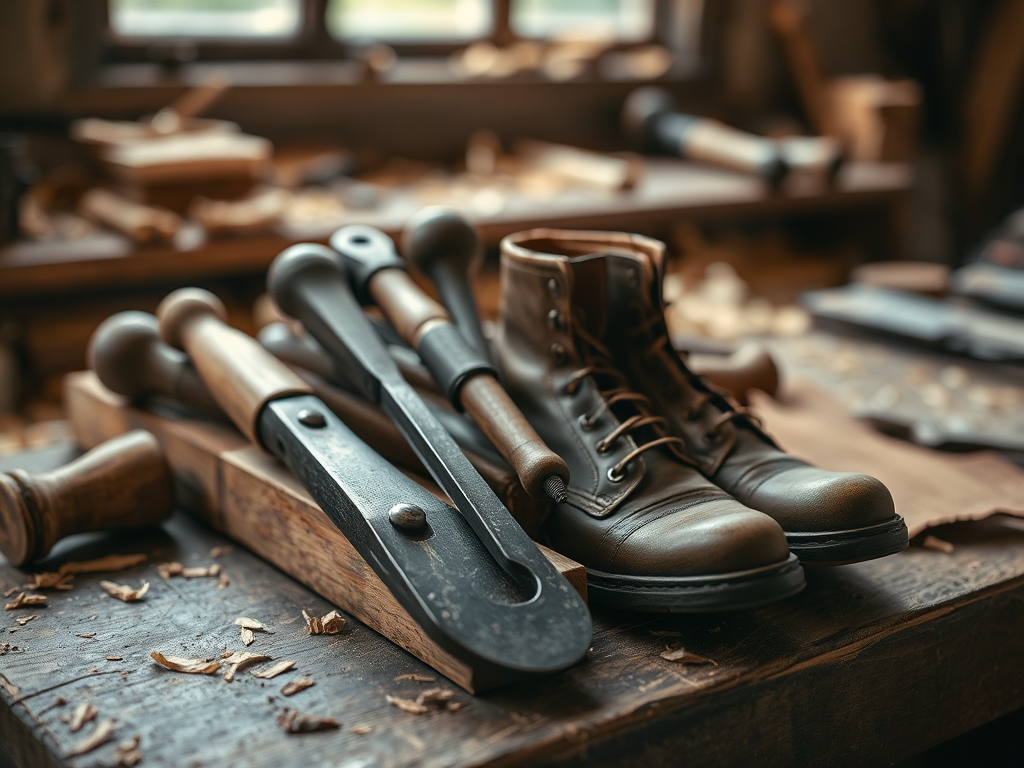
To execute this properly, you need a kit that respects the structural integrity of the hide. Grab your degreaser or a high-quality leather preparer; this is a solvent that breaks down the factory finish and oils so the dye can actually penetrate the grain. You will need a set of wool daubers for application, as their dense fibers hold a specific volume of liquid without dripping. For the fine details around the eyelets, a small synthetic brush is better than natural hair because it resists the harsh chemicals in the dye.
You also need a bone folder to press down the leather around the seams and a horsehair brush for the final buffing stage. If you do not have a professional leather deglazer, a high-percentage isopropyl alcohol works as a Material Substitution, though it is more drying to the hide. For the dye itself, choose an alcohol-based professional dye for deep penetration or a water-based dye if you want a more eco-friendly, less pungent experience. Do not forget the resolene or a carnauba wax finish to seal the deal; without a sealant, your hard work will rub off on your socks the moment you break a sweat.
THE TEMPO
The "Maker's Rhythm" is not about rushing; it is about respecting the evaporation rate of your solvents. Expect this project to span about 24 to 36 hours. The preparation phase takes roughly one hour of active scrubbing to ensure the leather is "thirsty" and stripped of old waxes. The actual Hand Dyeing Leather Boots phase is relatively quick, taking about 45 minutes per coat, but the dwell time is where the magic happens.
You must allow the dye to set for at least six to eight hours between coats to see the true color saturation. If you rush and apply a second coat while the first is still off-gassing, you risk a muddy, uneven finish. The final curing and conditioning phase requires a full overnight rest. This allows the fibers to settle and the moisture content to stabilize after the trauma of being stripped and redyed.
THE CORE METHOD
1. Stripping the Surface
We start by removing the old finish using a lint-free cloth and your deglazer. Use firm, circular motions. You will see the leather turn a dull, matte gray or light tan as the protective topcoat dissolves.
Mastery Tip: This process relies on solubility. You are breaking the molecular bond of the factory acrylic finish. If the leather does not look "thirsty" or if water still beads on the surface, the dye will not take. The surface must be completely open to ensure capillary action can pull the pigment into the dermis.
2. Hydrating the Grain
Before the dye hits the boot, lightly mist the leather with water. You do not want it soaking; you want it damp.
Mastery Tip: This is all about surface tension. Dampening the leather helps the dye spread evenly rather than hitting one spot and soaking in instantly to create a dark blotch. It allows the pigment to "float" and distribute across the grain direction more fluidly.
3. Applying the Pigment
Dip your wool dauber into the dye and apply it in small, overlapping circles. Start with the tongue of the boot to test the color density. Work quickly to maintain a "wet edge," which prevents visible lines where one stroke ends and another begins.
Mastery Tip: Leather is a non-isotropic material, meaning it absorbs liquid differently across various sections of the hide. The heel might be denser than the ankle. By using overlapping circles, you are ensuring an even ply of color regardless of the varying density of the collagen fibers.
4. Setting and Buffing
Once the dye is dry to the touch, use a clean rag to buff away any "bronzing" or excess pigment sitting on the surface. If you want a deeper color, repeat the previous step. Once satisfied, apply your sealant in thin, even layers.
Mastery Tip: Buffing creates friction heat, which helps the waxes in the finish penetrate the top layer of the leather. This creates a mechanical bond that protects the color from UV degradation and moisture.
THE TECHNICAL LEDGER
Maintenance & Longevity: To keep your newly dyed boots from cracking, you must apply a high-quality leather conditioner every three months. This replenishes the lipids within the hide that were lost during the dyeing process.
Material Variations:
- Sustainable: Use vegetable-tanned leather scraps for practice; they are the most reactive to natural dyes like walnut hulls or indigo.
- Recycled: If you are working with "bonded" leather, stop immediately. Bonded leather is just leather dust and glue; the solvents will dissolve the adhesive and ruin the boot.
- Premium: Full-grain leather offers the best results because the pore structure is intact and unobstructed.
The Correction:
- Mistake 1: Blotchy color. Fix: Apply a slightly darker second coat using a damp sponge to blend the edges.
- Mistake 2: Dye bleeding onto the soles. Fix: Use a small rotary tool with a fine sanding bit to gently whisk away the stained top layer of the rubber or crepe sole.
- Mistake 3: Leather feels brittle. Fix: Apply a heavy coat of neatsfoot oil and leave it in a warm (not hot) area for four hours to restore the flexibility.
Studio Organization: Store your dye bottles in a cool, dark cabinet. Alcohol-based dyes are highly volatile and will evaporate even through closed caps if left in direct sunlight. Keep your daubers in a sealed jar to prevent them from hardening into "rocks."
THE FINAL REVEAL
Look at that transformation! Those boots that looked like they belonged in a scrap heap now have a sophisticated, deep luster that catches the light. The stains are gone, replaced by a complex, multi-tonal finish that highlights the natural grain of the leather. You have successfully navigated the chemistry of solvents and the physics of absorption. These boots are no longer just "work gear"; they are a custom piece of functional art. Put them on, feel the weight, and appreciate the fact that you just saved a high-quality item from the bin with nothing but a little science and some serious style.
STUDIO QUESTIONS
Can I dye boots that have a waterproof coating?
You must strip the silicone or wax coating using a heavy-duty deglazer first. If water beads on the surface, the dye cannot penetrate the porous fibers. Mechanical sanding with fine-grit paper may be required to open the grain.
How do I prevent the dye from rubbing off?
The key is a professional-grade sealant like resolene or an acrylic finisher. Buffing the leather vigorously after the dye dries removes excess pigment, while the sealant locks the remaining color into the collagen matrix of the hide.
What is the best way to mask off the soles?
Use high-quality painter's tape and a bone folder to press the edges firmly into the "welt" or the gap between the leather and the sole. This prevents the dye from seeping through via capillary action.
Why did my boots turn out darker than the bottle?
Leather is a natural product with varying absorbency levels. If the leather is very dry, it will drink the dye rapidly, increasing the pigment density. Always perform a spot test on the tongue to gauge the final color saturation.

