
Close your eyes and listen to the silence of a workshop that is actually working. Most modern makers are used to the high pitched scream of a brushless motor and the smell of ozone. But when you are Using a Traditional Brace and Bit, the only sound is the rhythmic, low frequency curl of wood fibers being sliced away. It is a tactile conversation between your shoulder and the grain. You can feel every knot and every change in density through the sweep of the handle. This is not just about making a hole; it is about the tensile resistance of the timber meeting the mechanical advantage of a crank. When you use a power drill, the speed masks the material physics. With a brace, you are the motor. You feel the moment the lead screw bites into the cellular structure of the wood. You sense the exact micro second the cutters begin to sever the vertical grain. This level of intimacy with your medium is why manual drilling feels more controlled. You are moving at the speed of thought, not the speed of an electrical current.
THE STUDIO KIT
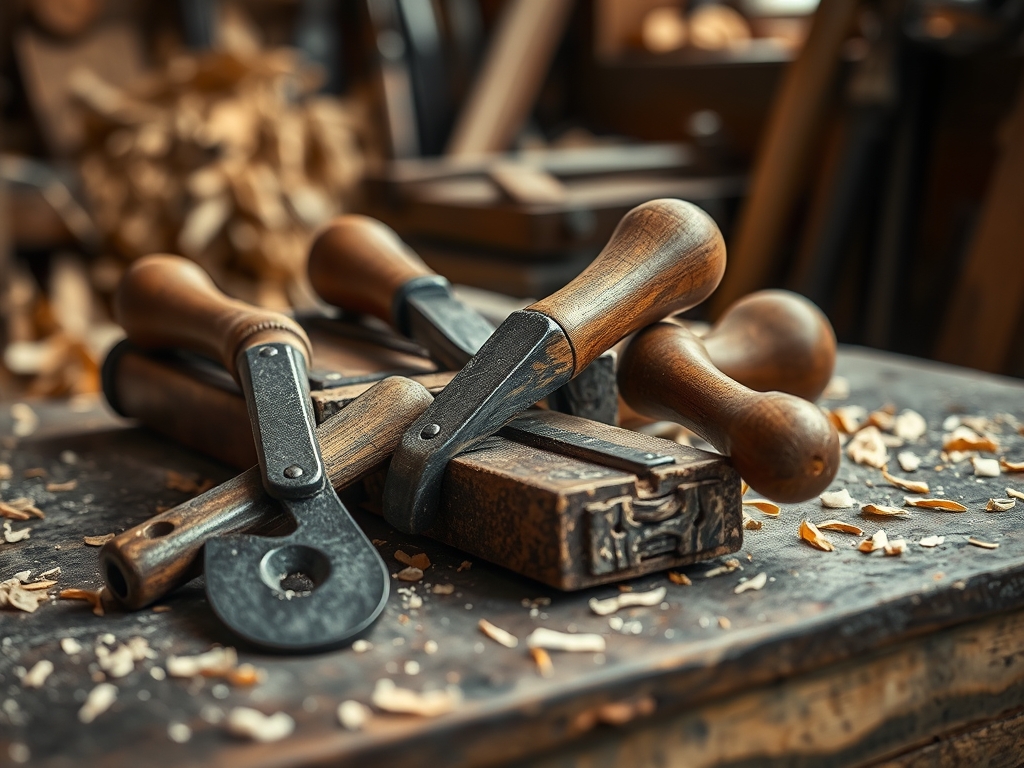
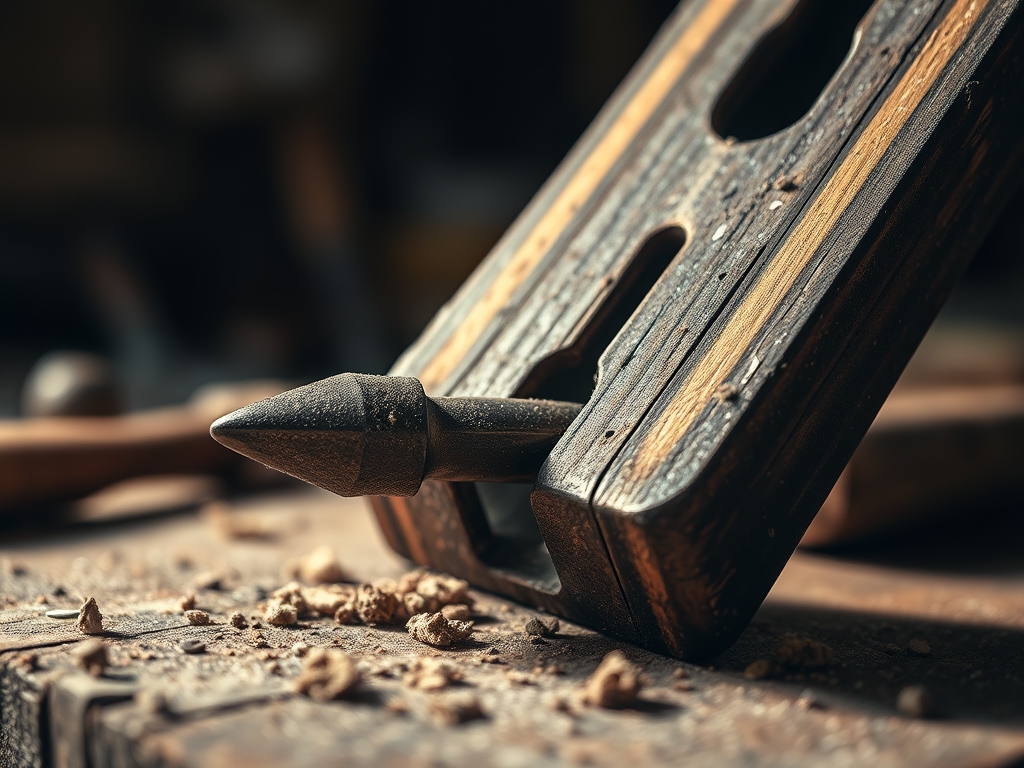
To master this process, you need a kit that respects the laws of physics. The star is the two jaw ratchet brace, an ergonomic marvel that converts a wide rotational arc into high torque. You will need a set of Jennings or Irwin pattern auger bits. These are not your average hardware store bits. They feature a lead screw that pulls the tool into the wood, side spurs that scribe the circumference, and lifters that clear the waste. You should also have a scratch awl for marking your center point and a pair of calipers to verify your hole diameter. For the material, start with a porous hardwood like cherry or walnut. These woods have a consistent fiber density that makes the "bite" of the bit feel predictable.
Material Substitutions: If you cannot find seasoned cherry, kiln dried poplar is an excellent substitute for practicing your boring technique. Avoid construction grade pressure treated lumber, as the high moisture content can cause the lead screw to clog. If you lack a traditional bench vise, a pair of heavy duty C-clamps and a "bench hook" will provide the necessary stability to prevent work piece shift.
THE TEMPO
The "Maker's Rhythm" is a three phase cycle that prioritizes precision over velocity. First is the Calibration Phase (5 minutes), where you inspect the bit for straightness and hone the spurs with a small file. Next is the Engagement Phase (2 to 3 minutes per hole), where you establish the lead screw and find your vertical plumb. Finally, there is the Clearing Phase (30 seconds), where you reverse the rotation to lift the swarf. Unlike a power drill that finishes in seconds, the manual brace requires a steady, deliberate tempo of approximately 60 rotations per minute. This slower pace prevents friction heat from tempering the steel of your bits, ensuring they stay sharp for decades.
THE CORE METHOD
1. Scribing the Entry Point
Use your scratch awl to create a deep, conical depression exactly where the center of the hole should be. This is not just a visual guide. The lead screw of an auger bit needs a physical "seat" to prevent it from wandering across the grain.
Mastery Tip: This step utilizes surface tension management. By pre piercing the wood fibers, you ensure the lead screw engages with the longitudinal tracheids of the wood immediately, preventing the bit from "skating" and marring the surface.
2. Squaring the Stance
Position your forehead or chest against the head of the brace. Your body weight provides the downward pressure, while your dominant hand drives the sweep. Use a "try square" set on the workpiece to visually align the bit at a perfect 90 degree angle.
Mastery Tip: This is about structural integrity. By using your body as a deadweight, you create a constant force vector that keeps the bit from tilting. If the bit tilts, the torque becomes uneven, which can snap the lead screw in dense hardwoods.
3. Engaging the Lead Screw
Rotate the sweep clockwise until you feel the screw "grab." Once it is seated, the tool will begin to pull itself into the wood. You should feel a slight increase in resistance as the spurs begin to cut the circular outline.
Mastery Tip: This phase demonstrates shear strength. The spurs must sever the wood fibers across the grain before the lifters can remove the waste. If the spurs are dull, the wood will tear rather than cut, resulting in a "fuzzy" hole.
4. Monitoring the Swarf
As you rotate, the flutes of the bit will carry wood chips (swarf) to the surface. Watch the color and shape of these chips. Long, continuous curls indicate a perfectly sharpened bit and a healthy wood moisture content.
Mastery Tip: This is a lesson in capillary action and friction. If the chips become dusty or scorched, it means you are applying too much pressure and not enough rotation, causing the wood cells to collapse rather than shear.
5. The Clean Exit
When the lead screw just barely pokes through the back side of the board, stop. Flip the board over and finish the hole from the other side. This prevents "blowout," where the pressure of the bit pushes the wood fibers out in a jagged mess.
Mastery Tip: By finishing from the back, you are maintaining the tensile strength of the exit face. The fibers are supported by the bulk of the wood as the cutters meet in the middle, ensuring a crisp, professional finish on both sides.
THE TECHNICAL LEDGER
Maintenance & Longevity: After every session, wipe your bits with a rag dampened in camellia oil. This prevents oxidation on the high carbon steel. Store them in a canvas roll to prevent the spurs from knocking against each other, which can cause micro-chipping.
Material Variations:
- Sustainable: Reclaimed oak flooring offers high density but requires frequent clearing of the flutes.
- Recycled: Old growth pine is soft but resinous; use a bit of wax on the thread to prevent gumming.
- Premium: African Mahogany provides a butter-like boring experience due to its interlocking grain.
The Correction:
- The Bit is Stuck: Do not yank it. Use the ratchet mechanism to back it out a quarter turn, then resume. This breaks the friction lock.
- Hole is Off-Center: If the bit wanders, you likely didn't seat the awl deep enough. Use a plug cutter to fill the hole with a matching dowel and start over.
- Squeaking During Rotation: This is a sign of heat buildup. Apply a small amount of beeswax to the bit's flutes to act as a dry lubricant.
Studio Organization: Store your brace hanging vertically. This prevents the internal bearings in the head from developing "flat spots" over years of storage. Keep your bits in a dry, temperature controlled environment to prevent the wood handles of older tools from shrinking or cracking.
THE FINAL REVEAL
There is a profound sense of accomplishment when you pull the bit out and see a perfectly smooth, shimmering cylinder of air where solid wood used to be. The interior walls of a hole bored with a brace and bit are often so smooth they look burnished. Because you controlled the speed, there are no burn marks or ragged edges. You have successfully navigated the complex physics of wood grain using nothing but your own strength and a few beautifully engineered pieces of steel. This project is not just a hole; it is a testament to the fact that sometimes, the "slow" way is actually the most efficient way to achieve perfection.
STUDIO QUESTIONS
Why does the brace have a ratchet mechanism?
The ratchet allows you to bore holes in tight corners where a full 360 degree rotation is impossible. It maximizes mechanical advantage by letting you use short, powerful strokes in confined spaces without repositioning the bit.
How do I know if my auger bit is sharp?
A sharp bit should pull itself into the wood with almost no downward pressure. If you have to lean heavily on the brace to make progress, the lead screw or the spurs are likely dull and need honing.
Can I use a brace and bit on metal?
No. Traditional auger bits are designed specifically for the cellular structure of wood. Attempting to use them on metal will instantly destroy the lead screw and the spurs, as metal requires much higher RPMs and different cutting geometries.
What size holes can a traditional brace handle?
Most braces accommodate bits from 1/4 inch up to 1.5 inches. For holes larger than that, the torque requirements become too high for a standard human frame to maintain consistently without risking a stall or wrist strain.
Is a 10 inch or 12 inch sweep better?
A 10 inch sweep is the standard for general furniture making. A 12 inch sweep provides more leverage for larger bits but requires more physical space to operate. Choose the 10 inch for better control and higher speed.

