
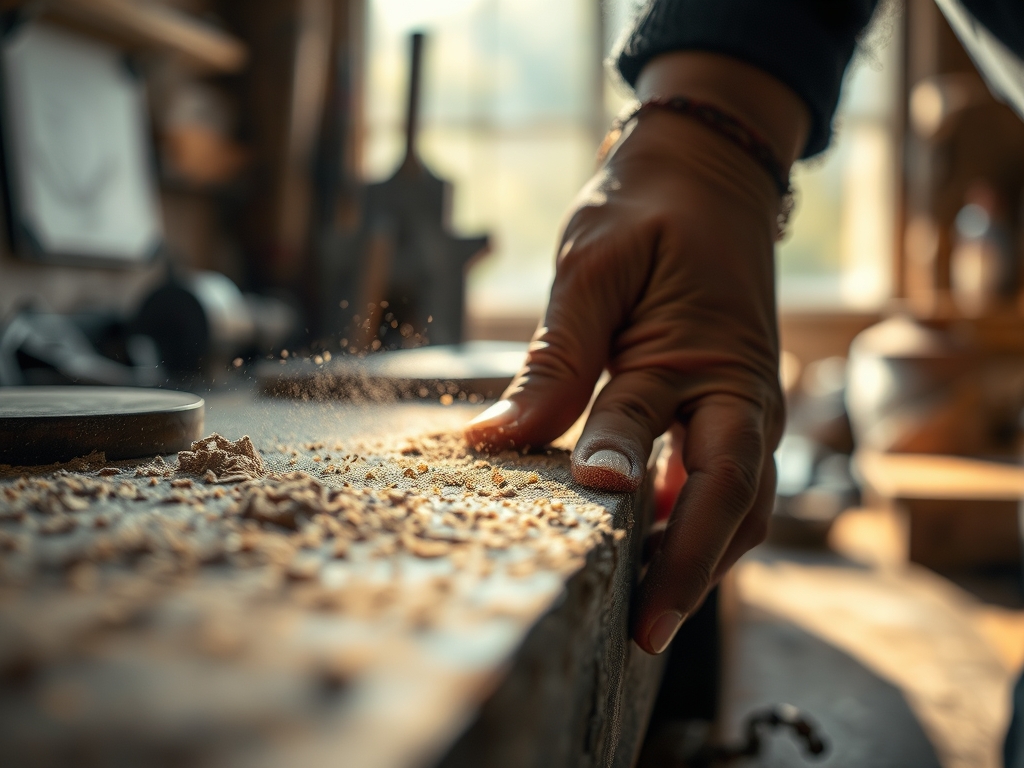
The scent of oxidized iron is unmistakable; it is sharp, metallic, and carries the heavy weight of neglected history. When you run your thumb across a piece of salvaged steel, you feel the gritty, uneven topography of scale that has bloomed over years of exposure. It is a stubborn, orange crust that masks the structural integrity of the metal beneath. You are not just cleaning a surface; you are performing a surgical restoration. Hand Sanding Metal Surfaces is the most intimate way to reclaim that lost luster because it allows your nerve endings to detect microscopic burrs that a power tool might simply smear away. As you apply the first pass of a coarse abrasive, the sound is a raspy, rhythmic protest. You are fighting against the tensile strength of the oxide layer, which clings to the base material with a chemical tenacity. By the time you reach the higher grits, that friction transforms into a silky glide. This is the alchemy of the workshop, where sweat and grit turn a discarded relic into a masterpiece of light and shadow.
THE STUDIO KIT
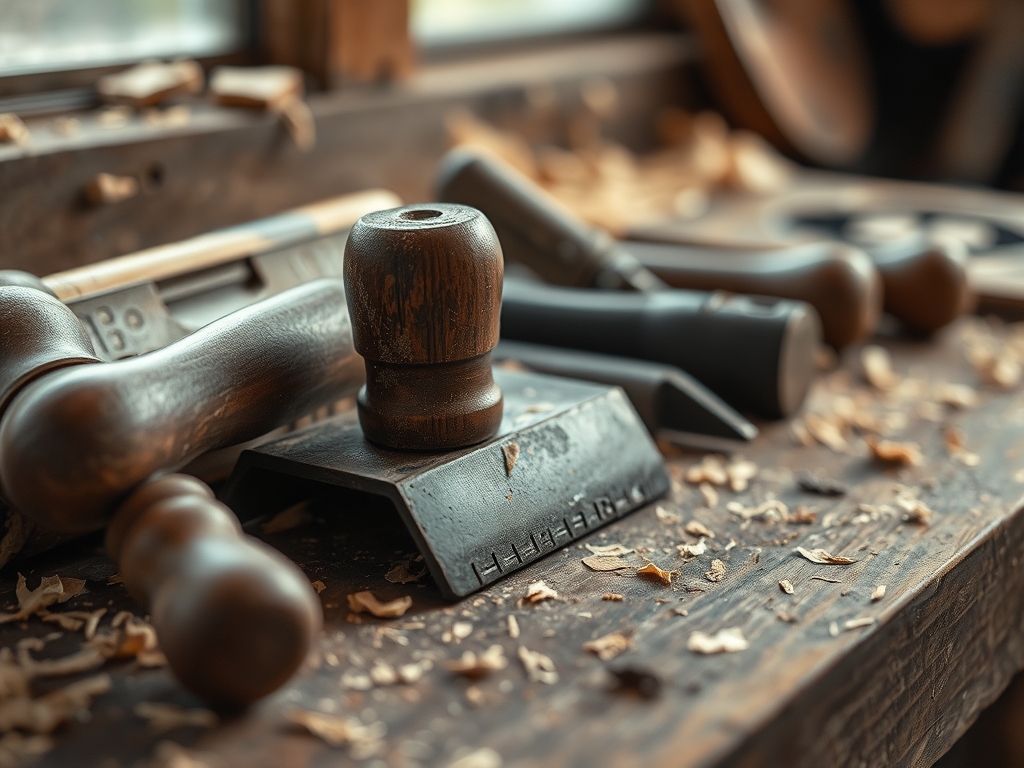
To master the art of the finish, your bench must be organized with the precision of a laboratory. You will need a tiered selection of silicon carbide sandpaper, ranging from a brutal 80-grit for heavy scale removal to a refined 1500-grit for a mirror polish. Silicon carbide is preferred over aluminum oxide for metal because the grains fracture under pressure, constantly exposing fresh, sharp cutting edges. You should also have a hard rubber sanding block to ensure even pressure distribution; using only your fingers can create "waves" in the metal due to the soft tissue of your fingertips.
A bottle of honing oil or even simple soapy water is essential as a lubricant to prevent "clogging" or "loading" of the paper. Without it, the microscopic metal particles will weld themselves to the abrasive, rendering it useless. For tight corners, a jeweler's saw can be used to clear out heavy debris, while a digital caliper helps you monitor the thickness of the material to ensure you are not compromising its structural gauge.
Material Substitutions: If you lack professional abrasives, a slurry of baking soda and a stiff nylon brush can tackle light surface rust. For a rustic, brushed finish, a piece of heavy-duty scouring pad (maroon or grey) can mimic the effect of a professional satin-finish wheel.
THE TEMPO
The "Maker's Rhythm" is a psychological state where your movements become mechanical and precise. Removing rust is not a sprint; it is a marathon of incremental progress. For a standard six-inch tool or component, expect to spend at least two hours of active labor. The Breakdown Phase (80 to 220 grit) takes about 40% of your time. This is where you do the heavy lifting of leveling the surface. The Refinement Phase (320 to 800 grit) consumes another 40%, as you meticulously erase the deep scratches left by the previous step. Finally, the Polishing Phase (1000+ grit) is the quickest 20%, where the metal begins to reflect light rather than absorb it. If you rush the early stages, the ghost of the rust will haunt your final finish.
THE CORE METHOD
1. The Chemical Debridement
Before touching an abrasive, wipe the surface with a degreaser or mineral spirits. This removes oils that would otherwise gum up your sandpaper. Removing surface contaminants ensures that your abrasive grains are cutting the metal, not sliding over a film of grease.
Mastery Tip: This step utilizes surface tension principles. By removing oils, you allow the lubricant used in later steps to flow evenly across the metal, preventing localized heat buildup that can warp thin-gauge sheets.
2. Leveling the Topography
Start with your lowest grit. Move in a single direction, never in circles. Circular motions create "swirl marks" that are nearly impossible to remove later. You are looking to achieve a uniform, dull grey appearance across the entire piece.
Mastery Tip: Watch the grain direction of the metal. Even cast pieces have a molecular alignment from the cooling process. Sanding with the grain reduces the friction coefficient, making your work more efficient and the final result more durable.
3. The Cross-Hatch Transition
When you move to the next grit (e.g., from 120 to 220), rotate your workpiece 90 degrees. Sand until all the scratches from the previous grit have disappeared. This visual contrast is the only way to guarantee you have actually leveled the surface.
Mastery Tip: This technique relies on the refractive index of the scratches. By changing the angle, you ensure that you are not just deepening existing grooves but are actually shearing off the peaks of the metal's surface.
4. Wet Sanding for Clarity
Once you hit 400 grit, introduce your lubricant. Wet sanding keeps the temperature low and floats the "swarf" (metal dust) away from the work area. This prevents the dust from scratching the surface you are trying to smooth.
Mastery Tip: The lubricant acts via capillary action, pulling the fine particles into the liquid and away from the abrasive interface. This maintains the integrity of the grit and extends the life of your sandpaper.
5. Burnishing and Protection
After your final grit, use a clean microfiber cloth to buff the surface. Immediately apply a thin layer of paste wax or machine oil to seal the pores of the metal. Freshly sanded metal is highly "reactive" and will begin to oxidize within minutes if left exposed to oxygen and humidity.
Mastery Tip: This final seal exploits the porosity of the metal. Even "smooth" metal has microscopic voids; filling these with a hydrophobic barrier prevents the electrochemical reaction that causes rust.
THE TECHNICAL LEDGER
Maintenance & Longevity: To keep your restored surface pristine, avoid touching it with bare hands. The salts and acids in your skin oils are highly corrosive. Store finished pieces in a low-humidity environment, ideally wrapped in VCI (Volatile Corrosion Inhibitor) paper.
Material Variations:
- Sustainable: Use crushed walnut shells or garnet paper for a biodegradable abrasive option.
- Recycled: Old denim scraps loaded with polishing compound make excellent high-grit strops.
- Premium: Diamond-impregnated lapping films offer the most precise, flat finish for high-carbon steel.
The Correction:
- Deep Scratches: If you see a deep line after moving to a high grit, you must go back two grit levels. You cannot "polish out" a 120-grit scratch with 800-grit paper.
- Pitting: If the rust has eaten holes into the metal, you may need to use a metal filler or accept the "patina." Do not sand too deep, or you will thin the gauge and weaken the piece.
- Loading: If the sandpaper stops cutting, it is loaded with dust. Use a rubber cleaning stick or a stiff brush to clear the grit.
Studio Organization: Store your sandpaper in a dry, indexed accordion file labeled by grit. This prevents cross-contamination, where a stray 80-grit grain might land on your 1000-grit paper and ruin a final polish.
THE FINAL REVEAL
Look at that glow! What was once a crusty, forgotten relic is now a shimmering testament to your patience and precision. The light hits the surface and bounces back with a crisp, clean reflection. You can feel the ergonomic smoothness under your fingertips; there is no drag, no grit, just the cool, solid presence of reclaimed steel. This is the "Maker's High," where the physical exertion of Hand Sanding Metal Surfaces pays off in a finish that looks like it came straight from a high-end boutique or a professional machine shop. You have mastered the physics of friction!
STUDIO QUESTIONS
What is the best grit to start removing heavy rust?
Start with 80-grit silicon carbide. This coarse abrasive has the mechanical advantage needed to shear through thick oxide layers and scale without clogging instantly. It levels the surface topography quickly before you move to refining the finish with higher grits.
Why should I use a lubricant when sanding metal?
Lubricants like honing oil or soapy water prevent "loading," where metal swarf clogs the abrasive. This reduces heat friction, extends the life of your sandpaper, and ensures a cleaner cut by floating debris away from the metal surface during the process.
Can I use circular motions when hand sanding?
No, always use linear strokes. Circular motions create multi-directional swirl marks that are difficult to remove and catch light unevenly. Sanding in a consistent direction, then rotating 90 degrees for the next grit, ensures a professional, uniform, and reflective finish.
How do I prevent the metal from rusting again immediately?
Freshly sanded metal is highly reactive. Immediately after the final polish, clean the surface with isopropyl alcohol and apply a hydrophobic barrier like paste wax, mineral oil, or a specialized clear coat to seal the pores against oxygen and moisture.

