
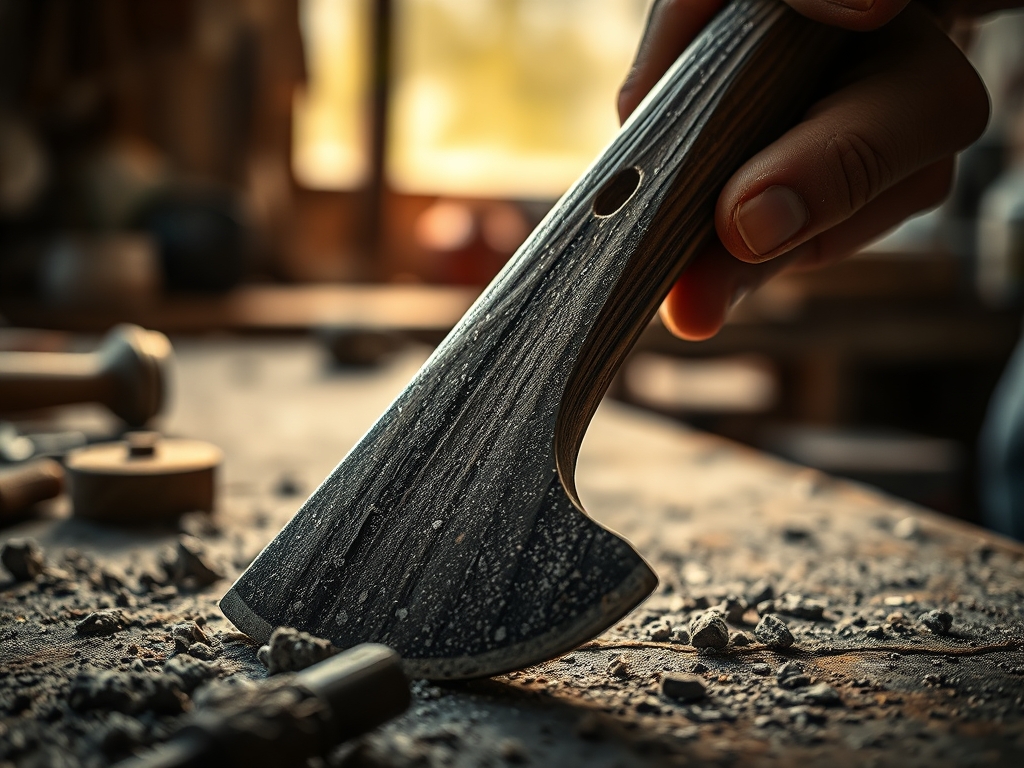
Steel has a memory, and right now, yours is screaming about that hidden rock in the frozen oak. You feel it before you see it; that jarring, discordant vibration traveling up the hickory handle and into your elbows. When you finally flip the head over, the sunlight catches a jagged lunar crater in the primary bevel. It is heartbreaking, but we are going to fix it. Hand Grinding an Axe Edge is not just about aesthetics; it is a high-stakes recalibration of molecular geometry. We are dealing with high-carbon tool steel that has been heat-treated to a specific Rockwell hardness. If we get too aggressive with a power grinder, we risk drawing the temper and turning that hard, crisp edge into soft, useless butter. Instead, we are going to use manual friction and patience to reshape the profile. This process requires an intimate understanding of the metal's tensile strength and the way light reflects off a vanishing apex. Grab your coffee; we are about to turn a ruined tool back into a surgical instrument.
THE STUDIO KIT
To perform a professional-grade restoration, you need a kit that respects the **metallurgical properties** of the blade. We start with a 10-inch mill bastard file. This is your primary stock removal tool. Look for one with a high tooth density to ensure clean, directional shearing of the steel. You will also need a **digital caliper** to measure the thickness of the cheeks; consistency here prevents the axe from binding in a deep cut. For the refinement stage, gather a series of whetstones ranging from 400 to 3000 grit.
Material Substitutions: If you lack a professional forge vice, a heavy-duty bench vice with leather "soft jaws" is essential to prevent marring the head. If you do not have honing oil, a mixture of dish soap and water works as a surfactant to float metal swarf away from the stone's pores. Do not substitute the file for a high-speed angle grinder unless you are a master of heat dissipation; one second of blue discoloration means the steel's crystalline structure has collapsed.
THE TEMPO
The "Maker's Rhythm" in metalwork is slower than wood. You cannot rush the molecular abrasion required to move a bevel back by three millimeters. Expect to spend approximately 45 minutes on the initial "hogging out" phase where we remove the chip. This is followed by a 30-minute shaping phase to restore the convex geometry. The final honing and stropping will take another 20 minutes. Total studio time: roughly 1.5 to 2 hours. The rhythm is steady and linear. Unlike the circular motion of sanding wood, metal responds best to long, sweeping strokes that utilize the full length of your tool to maintain a flat, even plane.
THE CORE METHOD
1. Mapping the Damage
Before touching the steel, use a permanent marker to "paint" the entire bevel. Use your digital calipers to find the deepest point of the chip. This becomes your new baseline. You are not just sharpening the nick; you are migrating the entire edge back until the nick no longer exists.
Mastery Tip: This is about structural integrity. If you only grind the area around the chip, you create a "frown" in the blade. By marking the steel, you ensure you are removing material evenly across the entire bit to maintain a functional arc.
2. The Draw Filing Technique
Secure the axe head horizontally. Hold the mill bastard file at both ends, perpendicular to the blade. Push the file away from you in long, firm strokes. This is called draw filing. It allows for maximum control over the geometric alignment of the edge. You should see fine silver curls of steel falling away.
Mastery Tip: Watch the friction heat. Even manual filing creates thermal energy. If the steel feels hot to the touch, slow down. Excessive heat at the microscopic apex can cause "edge rolling" later during use because the steel has lost its bite.
3. Establishing the Convex Profile
Axes are not flat like chisels; they require a "cheek" or a convex curve to pop wood chips out of a kerf. As you move the edge back, you must also thin the area behind the edge. Use a contour gauge to check your progress against the original factory lines.
Mastery Tip: This involves displacement physics. A wedge that is too thick will bounce off the wood; a wedge that is too thin will stick. By maintaining a parabolic curve, you ensure the energy of the swing is concentrated at the apex before being distributed outward.
4. Refinement Through Grit Progression
Once the chip is gone and the profile is restored, switch to your whetstones. Start with the coarsest grit to remove the deep scratches left by the file. Move the stone in a circular motion, keeping the surface lubricated to prevent "glazing," which occurs when metal particles clog the stone's porous surface.
Mastery Tip: Use capillary action to your advantage. A well-lubricated stone creates a slurry of abrasive particles and water. This slurry acts as a secondary grinding medium that polishes the steel at a microscopic level, increasing the "slicing" efficiency of the final edge.
5. The Final Burnish and Strop
The final step is removing the "wire edge" or burr. This is a microscopic flap of weakened steel that clings to the apex. Use a leather strop loaded with chromium oxide paste. Pull the blade away from the edge across the leather.
Mastery Tip: This is the peak of tactile feedback. You are aligning the microscopic "teeth" of the steel. A perfectly stropped edge has a lower coefficient of friction, meaning it will slide through wood fibers with minimal resistance, preserving the longevity of the tool.
THE TECHNICAL LEDGER
Maintenance & Longevity: After every session, wipe the head with camellia oil or paste wax. Steel is hygroscopic in a sense; it wants to pull moisture from the air and oxidize. A thin lipid barrier prevents rust from pitting your newly polished surface.
Material Variations:
- Recycled Steel: Old railway spikes or leaf springs are often used for custom axes but require specialized tempering cycles.
- Premium Steel: S7 shock-resisting tool steel is the gold standard for durability but is significantly harder to hand-file.
- Sustainable Handles: Use straight-grained American Hickory; its fiber density allows it to absorb shock without splintering.
The Correction:
- The Blue Spot: If you used a power tool and the steel turned blue, you have ruined the temper. Fix: Grind past the blue zone entirely until you hit "silver" steel again.
- The Rounded Apex: If you wobbled during honing, the edge will be blunt. Fix: Go back to a medium stone and use a guide to lock in your angle.
- The Asymmetric Bevel: One side is steeper than the other. Fix: Use your calipers to measure the distance from the eye to the edge on both sides and equalize.
Studio Organization: Store your axes in a leather sheath (mask) to prevent the edge from contacting ambient humidity. In the shop, hang them vertically to prevent the weight of the head from warping the wood grain of the handle over time.
THE FINAL REVEAL
Look at that! The light now dances off a continuous, mirror-polished curve. There is no trace of the "rock incident." When you run your thumb (carefully!) across the grain of the steel, it should feel like glass. This is the ultimate "maker's high"; taking a piece of damaged industrial hardware and restoring it to a state that is arguably better than when it left the factory. You have mastered the tactile geometry of the grind. Now, go find a fresh log and feel the difference that a hand-tuned apex makes.
STUDIO QUESTIONS
Why shouldn't I use a bench grinder for chips?
High-speed grinding generates intense localized heat that destroys the steel's temper. This makes the edge soft and unable to hold a sharp apex. Hand filing preserves the metallurgical integrity and provides much greater precision for complex convex geometries.
How do I know if I have removed the burr?
Gently pull a cotton ball across the edge. If it catches or leaves behind white fibers, a microscopic wire edge still exists. A truly clean edge will be perfectly smooth and will not "snag" on the fibrous structure of the cotton.
What is the best angle for a general-purpose axe?
Aim for a total included angle of 25 to 30 degrees. This provides a balance between tensile durability and cutting sharpness. A thinner angle is better for carving, while a steeper angle is required for heavy splitting of frozen hardwoods.
Can I use sandpaper instead of whetstones?
Yes, this is known as the "scary sharp" method. Adhere automotive-grade wet/dry sandpaper to a flat glass platen. It works exceptionally well for maintaining surface flatness, though it is less cost-effective than a permanent stone in the long run.
Why does my axe handle feel loose after grinding?
The vibration of filing can sometimes settle the head further onto the shoulder of the handle. If it feels "clicky," drive the wooden wedge further into the kerf or add a small metal cross-wedge to restore the mechanical lock.

