
Imagine the crisp snap of a dry limb underfoot or the silky, cool resistance of fresh sapwood against your palm. When you are out in the wild, your hands crave a connection to the earth that a plastic trekking pole simply cannot provide. Carving a Walking Stick is not just a weekend hobby; it is a fundamental exercise in structural engineering and forest chemistry. You are looking for that perfect intersection of tensile strength and weight. You want a piece of timber that feels like an extension of your own radius and ulna, vibrating with the energy of the trail while absorbing the shock of every jagged descent. We are talking about finding a branch with the ideal fiber density to withstand hundreds of pounds of vertical pressure without snapping at a critical grain intersection. It is about the smell of shaved bark and the heat generated by a sharp blade against a stubborn knot. Grab your gear, because we are about to transform a piece of forest debris into a high-performance piece of hiking technology that will last for decades of exploration.
THE STUDIO KIT
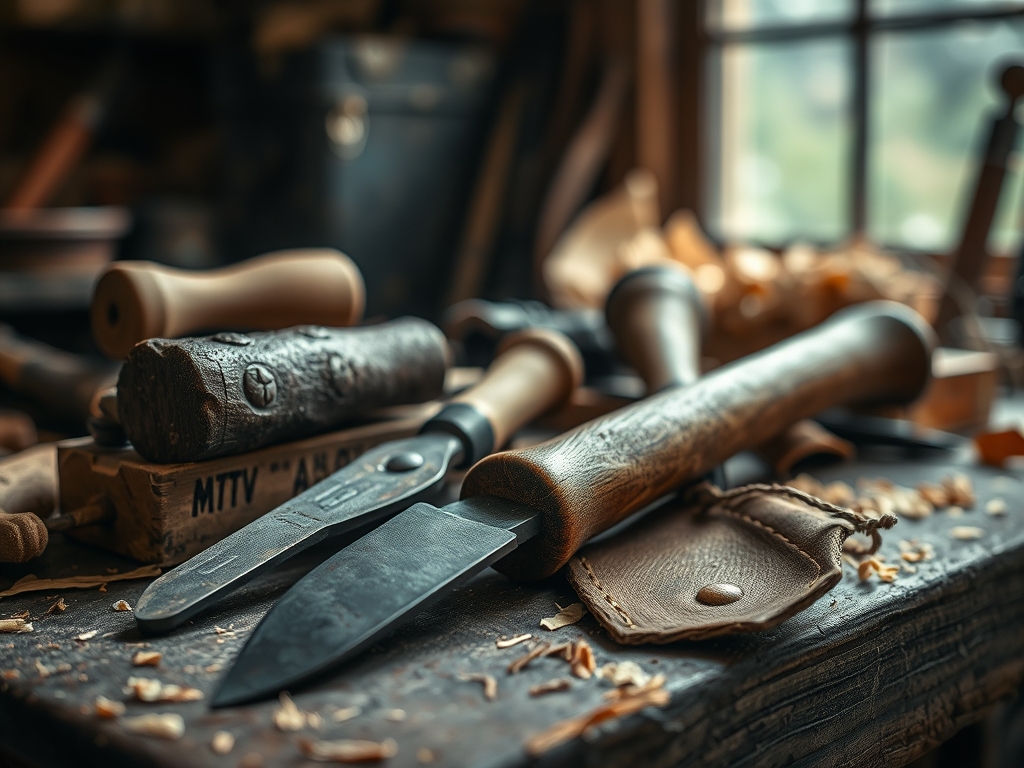
To master this build, you need more than just a pocketknife. We are looking for precision and safety. Your primary tool is a high-carbon steel **draw knife** or a dedicated woodcarving knife with a fixed blade for maximum leverage. You will also need a **spoke shave** for refining the cylindrical profile and a set of **calipers** to ensure the diameter remains consistent for an **ergonomic** grip. For the finer details, keep an **awl** and a small **oscillating tool** nearby to sand down those tricky junctions where branches once met the trunk.
In terms of materials, hardwood is your gold standard. Look for Ash, Hickory, or Oak. These species have a tight grain direction that resists splintering under load. If you cannot find these, a "Material Substitution" like seasoned Maple or even a thick Birch limb will work, though you must account for the higher porosity of Birch by applying more sealant later. You will also need various grits of sandpaper, ranging from 80-grit for heavy stock removal to 400-grit for a glass-like finish, and a natural oil like Tung or Linseed to burnish the final surface.
THE TEMPO
The "Maker's Rhythm" for this project is slow and intentional. You cannot rush the seasoning of wood. If you harvest a "green" branch, the moisture content needs to drop significantly before you finish carving, or the wood will warp and crack as it dries. This seasoning phase can take three to six months depending on your local humidity. Once the wood is stable, the actual carving and shaping take about four to six hours of active work. Finishing, which includes multiple coats of oil and drying time between each, adds another three days. Respect the tempo; the wood dictates the speed, not your schedule.
THE CORE METHOD
1. Selection and Harvest
Look for a straight branch that stands roughly shoulder-high. Avoid any wood with deep cracks or signs of fungal decay, as these compromise the structural integrity of the limb. Use a folding saw to make a clean cut, ensuring you do not tear the surrounding bark.
Mastery Tip: Check the ring density at the cut end. Closer rings indicate a slower-growing, denser wood that offers superior compressive strength for heavy hiking.
2. Debarking and Rough Shaping
Use your draw knife to peel away the outer bark and the slippery cambium layer underneath. Always pull the blade toward you with controlled, steady pressure, keeping the blade at a shallow angle to avoid gouging the heartwood.
Mastery Tip: Removing the bark allows the internal moisture to escape through the pores more evenly, preventing the uneven shrinkage that causes radial "checking" or cracks.
3. Refining the Grip and Taper
Use your calipers to measure the diameter of your hand's grip. Use the spoke shave to thin the top section of the stick until it fits your palm perfectly. You want a slight taper from the top down to the base to improve the balance and pendulum swing of the stick.
Mastery Tip: By tapering the stick, you shift the center of gravity higher, which reduces the muscular effort required to swing the stick forward during a long trek.
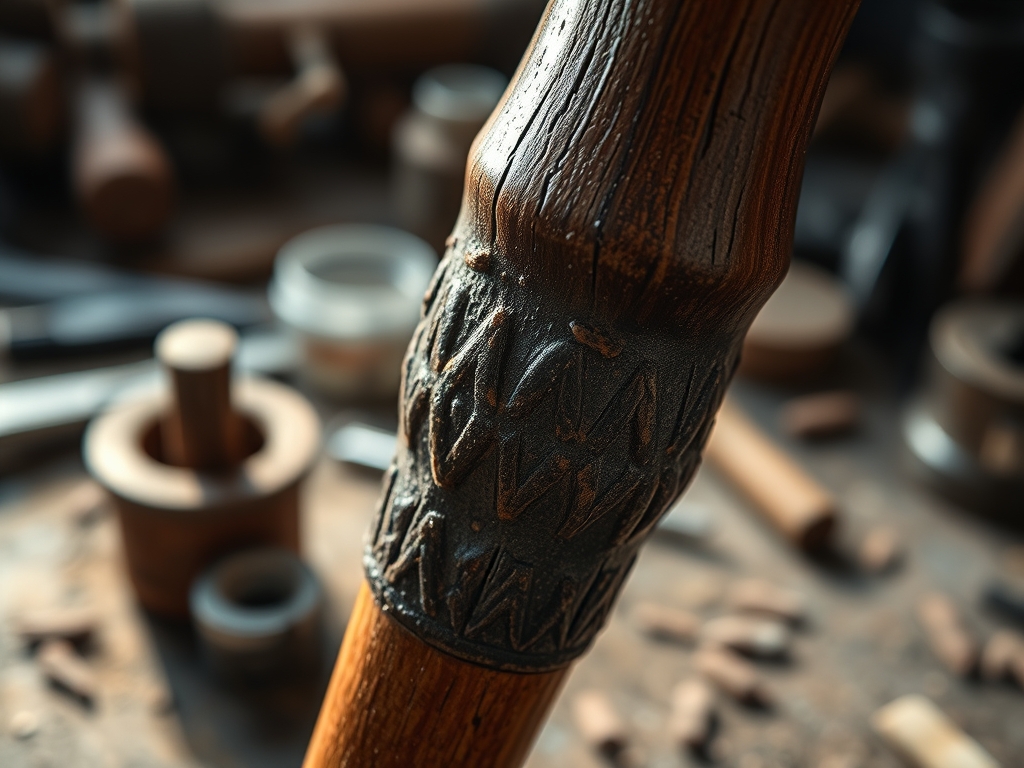
4. Sanding and Detailing
Work through your sandpaper grits meticulously. Use an oscillating tool for the knots. Once smooth, use a damp cloth to "raise the grain," let it dry, and sand one last time with your highest grit.
Mastery Tip: Raising the grain involves using capillary action to lift crushed wood fibers. Sanding them off ensures the stick stays smooth even if it gets wet during a rainstorm on the trail.
5. Sealing and Finishing
Apply your choice of oil in thin, even layers. Rub the oil in vigorously with a lint-free cloth to generate friction heat, which helps the oil penetrate deeper into the porous cellular structure of the wood.
Mastery Tip: The oil creates a hydrophobic barrier that regulates surface tension, preventing water from entering the wood and causing rot or swelling.
THE TECHNICAL LEDGER
Maintaining your walking stick is simple but vital. Every season, check the base for "mushrooming" or splitting. You can prevent this by installing a copper or brass ferrule at the tip. Re-apply a light coat of oil once a year to keep the fibers supple and prevent brittleness.
Material Variations:
- Sustainable: Harvest from "downed" wood after a storm to ensure no living trees are harmed.
- Recycled: Use an old shovel handle or heavy-duty broomstick as a "pre-seasoned" starting point.
- Premium: Source exotic hardwoods like Black Walnut or Osage Orange for incredible color and density.
The Correction:
- Mistake: The wood starts cracking at the ends. Fix: Apply wax to the end grain immediately to slow down the evaporation rate.
- Mistake: The stick feels "whippy" or too flexible. Fix: You have shaved too much material; this stick is now a light-duty cane rather than a heavy-duty hiker.
- Mistake: The finish feels sticky. Fix: You applied too much oil. Wipe it down with mineral spirits and buff it out with 0000 steel wool.
Studio Organization: Store your sticks vertically in a cool, dry place. Avoid leaning them at an angle against a wall for long periods, as the constant gravitational pull can cause a permanent "set" or bow in the wood over time.
THE FINAL REVEAL
Look at that grain! When you hold your finished piece, you should feel a sense of absolute stability. The wood should glow with a deep, satin luster that highlights every unique knot and swirl. It is no longer just a branch; it is a custom-engineered tool designed specifically for your height, grip, and gait. It feels warm, responsive, and incredibly tough. Toss it in your hand, feel the balance, and get ready to hit the trail with a piece of gear that has a soul.
STUDIO QUESTIONS
What is the best wood for a walking stick?
Hardwoods like Ash, Hickory, and Oak are superior due to their high tensile strength and density. They resist snapping under pressure and hold a smooth finish better than softer woods like Pine or Cedar.
How do I stop my walking stick from cracking?
Seal the end grain with wax or glue immediately after cutting. This controls the speed of moisture loss, preventing the internal stresses that lead to radial cracks or "checking" as the wood fibers shrink during the seasoning process.
Should I remove the bark from my hiking stick?
Yes, removing the bark prevents insects from nesting underneath and allows the wood to dry more uniformly. It also reveals the beautiful grain patterns and allows you to sand the surface for a more ergonomic grip.
How long should a walking stick be?
Ideally, the stick should reach about six inches above your elbow when your arm is at a ninety-degree angle. This height provides maximum leverage for both uphill climbs and downhill stability while maintaining proper posture and balance.
How do I make the grip more comfortable?
Use a spoke shave to contour the handle to your specific palm shape. You can also carve shallow finger grooves or wrap the area in leather cord to increase friction and reduce hand fatigue during long-distance treks.

