
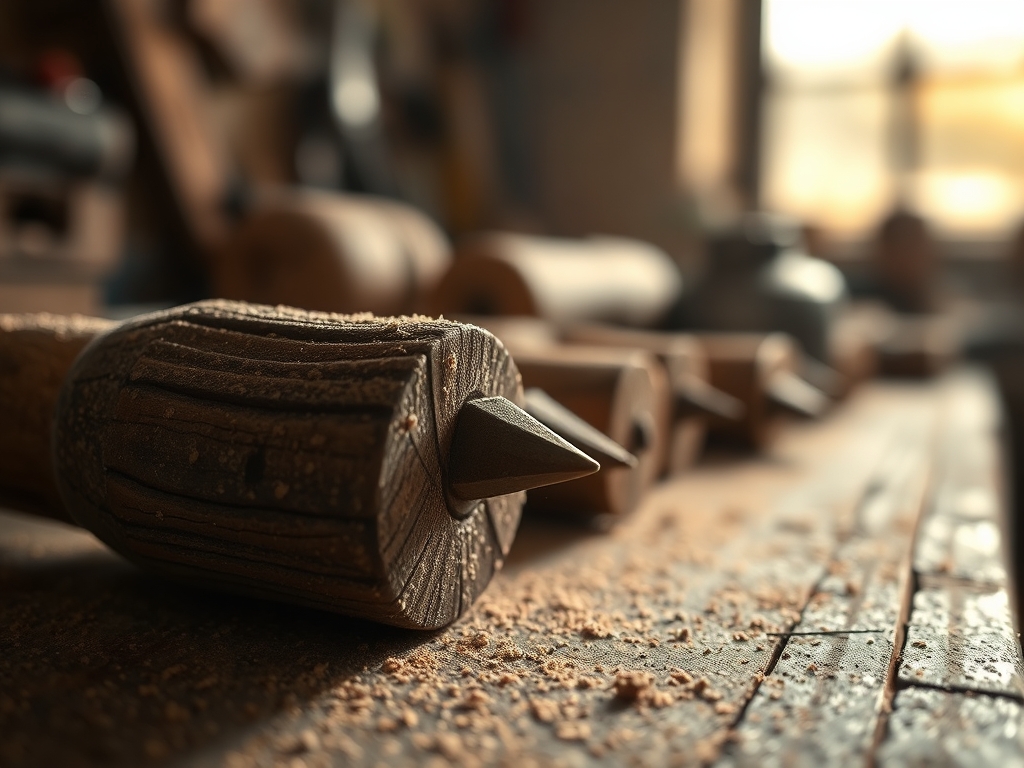
Imagine a scent that is part library, part kitchen, and entirely ancient. That is the aroma of a simmering glue pot hitting the air of a cold studio. While modern synthetics offer a quick fix, they lack the soul and the structural intelligence of protein based adhesives. If you want to master the craft, you need Traditional Glue Making Tips that focus on temperature control and gram strength. My hands are constantly moving between the rough texture of the dry granules and the slick, honeyed consistency of the melted liquid. There is a specific tactile feedback when the brush drags across a porous grain of maple; it feels like the wood is actually breathing. We are not just sticking things together. We are creating a molecular bond that is reversible, repairable, and incredibly strong. It is the ultimate secret weapon for anyone who values longevity over convenience.
THE STUDIO KIT
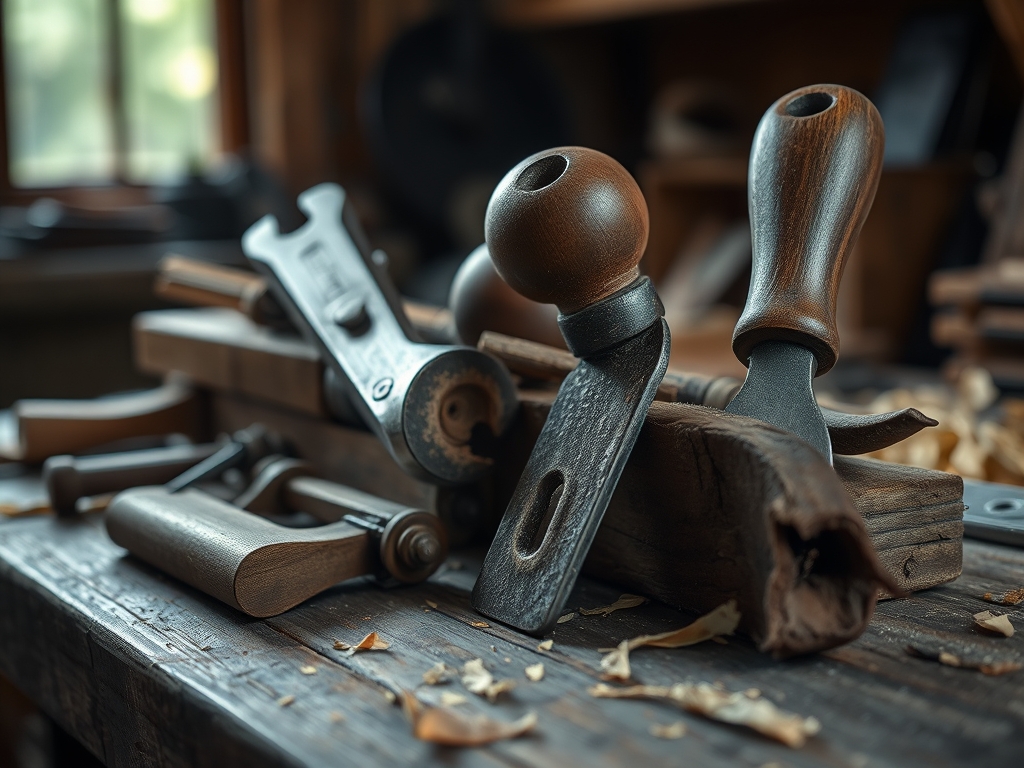
To begin this journey, you need a kit that balances precision with raw material. At the center is your electric glue pot, which must maintain a steady temperature of 140 degrees Fahrenheit to prevent protein breakdown. You will need a dial caliper to measure the thickness of your veneers and a bone folder for pressing out air bubbles in delicate laminations. I always keep a fine-point awl nearby to clear out excess squeeze-out from tight corners.
Your primary material is high-quality hide glue pearls, usually rated at a 192 gram strength for general furniture work. This rating refers to the tensile strength and gel point of the adhesive. For Material Substitutions, if you cannot find rabbit skin glue for fine instrument work, you can use high-clarity gelatin in a pinch, though it lacks the same shear resistance. You also need a set of natural bristle brushes; synthetic fibers will often melt or lose their spring in the heat. Finally, keep a clean burnishing tool and a jar of distilled water to maintain the purity of the mixture.
THE TEMPO
The "Maker's Rhythm" is governed by the clock and the thermometer. Unlike the instant gratification of a hot glue gun, hide glue demands a three-phase timeline. First is the hydration phase, which takes roughly two hours. You cannot rush the pearls; they must absorb water until they resemble translucent caviar. Second is the melting phase, a thirty-minute window where the solids liquefy into a golden syrup.
The third and most critical phase is the open time. Depending on the ambient temperature of your studio, you have between sixty and ninety seconds to align your joints before the glue begins to "gel." This creates a high-energy environment where your movements must be deliberate and practiced. If you miss the window, you do not panic. You simply apply heat with a heat gun to reactivate the proteins. This reversibility is why we tolerate the tempo; it allows for a level of perfectionism that permanent resins simply do not permit.
THE CORE METHOD
1. Hydration and Ratios
Start by weighing your dry glue pearls using a digital scale. The standard ratio is one part glue to two parts distilled water by weight. Place them in a glass jar and let them sit until the water is fully absorbed. This ensures that the molecular chains are properly hydrated before heat is applied.
Mastery Tip: Always use distilled water. Tap water contains minerals and chlorine that can interfere with the chemical bond and cause the glue to darken or degrade over time, affecting the aesthetic of light-colored woods.
2. The Controlled Melt
Place your hydrated jar into the water bath of the glue pot. Monitor the temperature closely with a digital thermometer. You are aiming for a sweet spot between 140 and 145 degrees Fahrenheit. If you exceed 150 degrees, you will cook the proteins, permanently destroying the tensile strength of the adhesive.
Mastery Tip: The science here is all about viscosity. If the glue drips off your brush in a continuous, thin stream, the surface tension is perfect for capillary action, allowing the glue to pull itself deep into the wood fibers.
3. Surface Preparation
While the glue melts, use a jeweler's saw or a sharp chisel to ensure your joinery is light-tight. The surfaces must be clean and slightly scuffed. I often use a rotary cutter for veneer edges to ensure a crisp, zero-clearance fit. Pre-heating the wood surfaces with a hair dryer can extend your open time significantly.
Mastery Tip: Hide glue works via a "suction" effect as it cools and shrinks. By ensuring your surfaces are perfectly flat, you maximize the structural integrity of the bond, making the joint stronger than the surrounding wood.
4. The Rubbed Joint
Apply a thin, even coat to both surfaces. For flat joints, use the "rubbed joint" technique: press the two pieces together and slide them back and forth until the friction increases and the pieces "grab." This forces out excess glue and air, creating a vacuum seal.
Mastery Tip: This technique relies on atmospheric pressure and the rapid cooling of the glue. A successful rubbed joint requires no clamps, which prevents the "starved joint" syndrome often caused by over-clamping with PVA glues.
THE TECHNICAL LEDGER
Maintenance & Longevity: Hide glue is organic. To prevent mold, add a few drops of wintergreen oil or salt to the mix. Always clean your brushes immediately in warm water; once hide glue hardens on a brush, it becomes a literal rock.
Material Variations:
- Sustainable: Use locally sourced bovine hides for a lower carbon footprint.
- Premium: Fish glue offers a longer open time and remains liquid at room temperature, perfect for complex assemblies.
- Recycled: Old glue can be dried, cracked into shards, and re-melted without losing its properties.
The Correction:
- The Chilled Joint: If the glue gels before you finish, the joint will fail. Fix: Use a heat gun to liquefy the glue in situ and re-clamp.
- The Starved Joint: If the glue is too thin, it soaks in completely, leaving nothing to bond. Fix: Apply a "size" coat (thinned glue) first, let it dry, then apply the main coat.
- The Brittle Bond: This happens from overheating. Fix: Scrape away the old glue entirely and start fresh with a new batch at a lower temperature.
Studio Organization: Store dry pearls in airtight containers in a cool, dark place. Never leave liquid glue in the pot overnight; pour it into a silicone ice cube tray and freeze it. These "glue cubes" can be popped out and melted as needed, preventing bacterial growth and degradation.
THE FINAL REVEAL
There is nothing quite like the moment you unclamp a project held together by hide glue. The joints are invisible, the wood grain is vibrant, and the piece feels incredibly solid. When you run your fingers over the seam, you cannot feel a transition. It is a seamless marriage of organic materials. Because the glue dries hard rather than "creeping" like plastic glues, the acoustic properties of the wood are preserved. Whether you are building a mahogany cabinet or a delicate violin, the result is a piece of history that can be repaired a hundred years from now. It is a high-energy, high-reward process that connects you to every maker who came before you.
STUDIO QUESTIONS
Why choose hide glue over modern yellow glue?
Hide glue is reversible with heat and moisture, allowing for easy repairs. It does not "creep" under tension and accepts stains perfectly, unlike synthetic glues which leave visible plastic residues that block wood finishes and ruin the final look.
What is the ideal temperature for the glue pot?
The ideal temperature is between 140 and 145 degrees Fahrenheit. Exceeding this range breaks down the protein chains, significantly weakening the bond. Using a reliable thermometer is essential for maintaining the structural integrity of your traditional woodworking projects.
How do I extend the working time of the glue?
You can extend the open time by pre-heating the wood surfaces or adding a small amount of urea to the mixture. This slows the gel time, giving you more flexibility during complex assemblies without sacrificing the final strength of the bond.
Can hide glue be used on oily woods like teak?
Yes, but you must first wipe the joint surfaces with acetone to remove surface oils. This ensures the water-based glue can penetrate the wood fibers. Hide glue's high surface tension helps it grip even challenging, dense tropical hardwoods effectively.

