
Close your eyes and imagine the satisfying, weighted clunk of a vault door closing; that is the specific gravity we are chasing today. We are moving away from the flimsy, stamped tin hardware found in big box stores that rattles with every breeze. To achieve a truly premium feel, we are diving into the grit and fire of Forging a Simple Metal Hinge using traditional blacksmithing techniques. This is not just about aesthetics; it is about the tensile strength of carbon steel and the way molecules rearrange under the hammer. When you hold a piece of hardware that has been hand-forged, your nervous system registers the density immediately. It feels permanent because it is. We are going to manipulate raw stock into a functional masterpiece that pivots with buttery precision. This process requires a marriage of brute force and surgical accuracy, ensuring that the grain direction of the metal follows the curve of the barrel for maximum durability. Get ready to get dirty, because real quality is earned through heat, sweat, and a very heavy anvil.
THE STUDIO KIT

To create hardware that commands respect, you need a kit that can handle the thermal stress of a thousand-degree forge. Our primary material is low-carbon mild steel flat bar, specifically a 1/8-inch thickness for that substantial, tactile heft. You will need a cross-peen hammer to move the metal and a pair of wolf-jaw tongs to maintain a secure grip on your work-piece. Precision is non-negotiable, so keep your digital calipers and a hardened steel awl within reach for marking your pivot points. For the finishing touches, a bastard file and a bench grinder will help you achieve those clean, ergonomic edges.
Material Substitutions: If you cannot source mild steel, you can repurpose old leaf springs from a vehicle, though the higher carbon content makes them more prone to cracking if not annealed properly. For a more decorative, corrosion-resistant option, silicon bronze offers a stunning gold hue and excellent ductility, though it requires a more delicate touch with the hammer to avoid work-hardening the metal to the point of brittleness.
THE TEMPO
The "Maker's Rhythm" is a steady pulse of heating and beating. Forging a single hinge usually takes about three hours for a beginner, but the time is divided into distinct phases of thermal management. You will spend roughly 45 minutes on the Initial Taper, where you thin the ends of the strap. The Barrel Wrap is the most critical phase, taking about an hour of meticulous adjustments to ensure the pin fits without friction. The final hour is dedicated to Normalization and finishing. Remember, you are working with the "open time" of the metal; once the steel fades from a bright cherry red to a dull mahogany, its plasticity drops, and you must return it to the forge. Forcing cold metal leads to internal fractures and a ruined project.
THE CORE METHOD
1. The Initial Taper and Flattening
Start by heating the end of your flat bar until it glows a vibrant orange. Using the edge of the anvil, strike the tip to create a slight taper. This reduces the bulk of the metal where the barrel will eventually sit. Mastery Tip: This process relies on displacement physics; you are not removing material, but rather shoving the molecules into a new shape. Maintaining a consistent thickness across the taper ensures the structural integrity of the hinge under a heavy load.
2. Setting the Scarf
The "scarf" is a shallow indentation that allows the metal to tuck into itself during the wrap. Position the tapered end over the rounded "horn" of the anvil and deliver glancing blows. This prepares the surface for a seamless transition. Mastery Tip: By creating a scarf, you are managing the surface tension of the cooling metal, preventing "cold shuts" or folds that could become failure points when the hinge is stressed.
3. Rolling the Barrel
This is where the magic happens. Use your hammer to begin curling the tapered end over a drift pin or a sacrificial bolt that matches your desired hinge pin diameter. You want the metal to wrap tightly around the cylinder. Mastery Tip: The science here is all about concentricity. If the barrel is not perfectly round, the hinge will bind. Use your calipers frequently to ensure the internal diameter remains uniform throughout the length of the roll.
4. Aligning the Knuckles
Repeat the process for the second half of the hinge. Once both barrels are formed, you must "interleave" them. This often requires using a jeweler's saw or a hacksaw to cut slots into the barrels so they fit together like a puzzle. Mastery Tip: Aim for a "press fit" clearance of about 0.010 inches. This gap allows for a thin film of lubricant to utilize capillary action, pulling oil deep into the joint to prevent oxidation and squeaking.
5. Final Pin Insertion and Peening
Slide your hardened steel pin through the aligned barrels. To keep it from falling out, you will "peen" the ends by striking them with the ball end of your hammer until they mushroom outward. Mastery Tip: This creates a mechanical bond based on compressive stress. The flared ends of the pin act as a permanent rivet, ensuring the assembly remains a single, cohesive unit for decades.
THE TECHNICAL LEDGER
Maintenance & Longevity: Steel is a hungry material; it wants to return to the earth as iron oxide. To prevent rust, burnish the finished hinge with a wire brush while it is still warm (around 400 degrees Fahrenheit) and apply a coat of paste wax or boiled linseed oil. This creates a polymer barrier that bonds to the porous surface of the hot metal.
Material Variations:
- Sustainable: Source "found" steel from scrap yards. Old rebar can be forged into rustic hinges with incredible character.
- Premium: Use 316 Stainless Steel for marine environments. It is much harder to forge due to its high yield strength, but it is virtually indestructible.
The Correction:
- The Binding Barrel: If the hinge is stiff, the barrel is likely egg-shaped. Fix this by reheating and driving a tapered drift through the center to reshape it.
- The Cracked Corner: This happens from "working the metal cold." You must grind out the crack and weld it, or start over. There is no structural fix for a cold-shut.
- Misaligned Straps: If the hinge closes crookedly, use an oscillating tool with a grinding bit to shave the internal faces of the knuckles until the alignment is true.
Studio Organization: Store your raw steel in a dry, vertical rack to prevent "flash rust" caused by floor moisture. Keep your finished hardware in silicone-treated cloths or airtight bins to maintain the factory-fresh patina until installation.
THE FINAL REVEAL
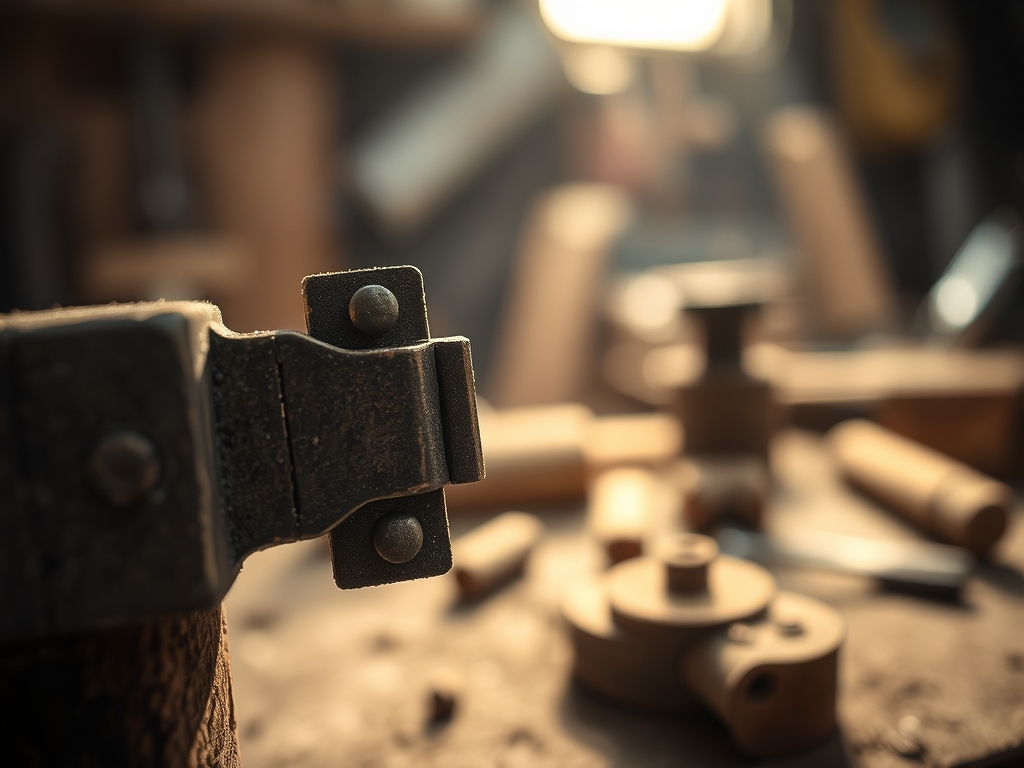
Look at that! You have successfully transformed a boring, industrial bar of steel into a piece of functional art that feels like it belongs in a medieval cathedral. The weight is substantial; the movement is silent; the surface has that gorgeous, hammered texture that only comes from manual labor. When you install these on a heavy oak door or a tool chest, the entire piece of furniture is elevated. It no longer feels like a DIY project; it feels like an heirloom. That is the power of high-density hardware. You didn't just make a hinge; you mastered the physics of fire and steel.
STUDIO QUESTIONS
Why is my hinge squeaking even after oiling?
The barrel is likely too tight, preventing the oil from reaching the center via capillary action. Lightly sand the pin or slightly enlarge the barrel with a round file to create a microscopic gap for the lubricant to sit.
Can I forge a hinge using a propane torch?
Yes, but it takes significantly longer to reach the necessary forging temperature. You will need a firebrick hearth to trap the heat around the steel to ensure the core reaches a uniform plastic state for shaping.
What is the best steel gauge for a standard door?
For a standard interior door, a 10-gauge to 8-gauge thickness (roughly 1/8 inch) provides the necessary structural support without being overly bulky. Heavier exterior doors may require 1/4 inch stock for increased tensile strength.
How do I get a black finish without paint?
Traditional "blacksmith black" is achieved by heating the metal to a dull blue and quenching it in vegetable oil. The oil carbonizes on the surface, creating a durable, corrosion-resistant, and chemically bonded dark finish.

