Imagine the smell of ozone and hot iron hitting the air as you step into the garage. It is a gritty, electric sensation that vibrates right in your teeth. You are standing over a pile of rusted rebar and old railroad spikes, feeling the weight of potential in your palm. Today, we are Forging a Basic Hook from what others call junk. The tensile strength of low carbon steel is a marvel of physics; it is stubborn and rigid until you introduce enough thermal energy to reach the critical temperature where the molecular lattice begins to slide. This is not just DIY. This is a transformation of matter. We are taking a linear, industrial artifact and coaxing it into a graceful, functional curve that will hold your heaviest coat for a century. The steel feels cold and indifferent now, but once we get that forge roaring, it becomes as pliable as clay. Grab your safety glasses and tie back your hair. We are about to turn scrap into a masterpiece of utility and grit.
THE STUDIO KIT
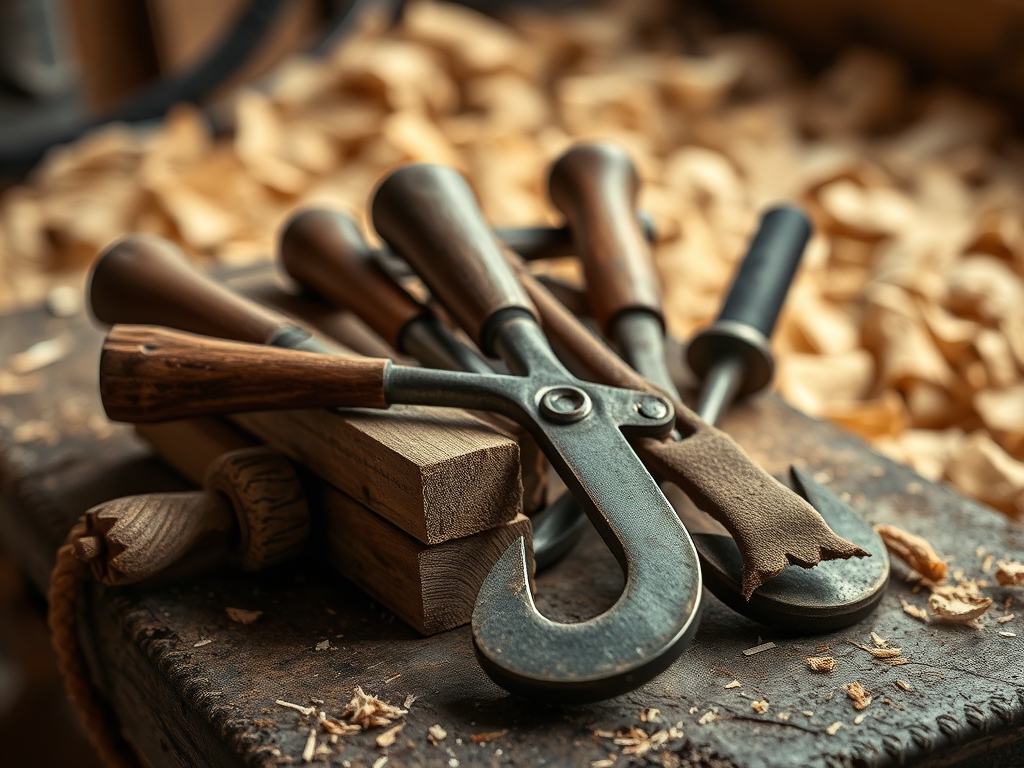
To master the art of the hook, you need a kit that respects the thermal conductivity of your materials. Your primary tool is the anvil, a high carbon steel mass that provides the necessary rebound for every strike. You will also need a cross-peen hammer, preferably a two-pound model to balance power with ergonomic control. For handling the hot work, a pair of wolf-jaw tongs is essential to grip various stock shapes securely. You should also have a wire brush to remove the iron oxide scale that forms during the heating process.
For the material, we are hunting for 3/8 inch square bar or round rebar. If you cannot find virgin steel, look for old lawnmower blades or large structural bolts. Material Substitutions include using heavy-gauge copper wire for a decorative indoor version, though copper lacks the yield strength of steel and will require cold-working to harden the metal through grain compression. Always keep a set of digital calipers nearby to measure the thickness of your taper as you work.
THE TEMPO
The "Maker's Rhythm" is a dance between the forge and the anvil. You have a limited window of workability, usually about sixty to ninety seconds, before the steel loses its yellow-orange glow and enters the "black heat" range where it becomes brittle.
- The Prep (15 Minutes): Sorting scrap and cleaning the surface of oils or paint.
- The Taper (20 Minutes): The most labor-intensive phase requiring consistent, heavy strikes.
- The Scroll and Bend (10 Minutes): High-precision work where finesse beats force.
- The Punch and Finish (15 Minutes): Creating the mounting hole and applying a protective wax.
Expect your first hook to take about an hour. As you develop muscle memory and learn to read the color of the heat, you will find a cadence where the hammer falls in sync with the cooling rate of the metal.
THE CORE METHOD
1. Drawing the Taper
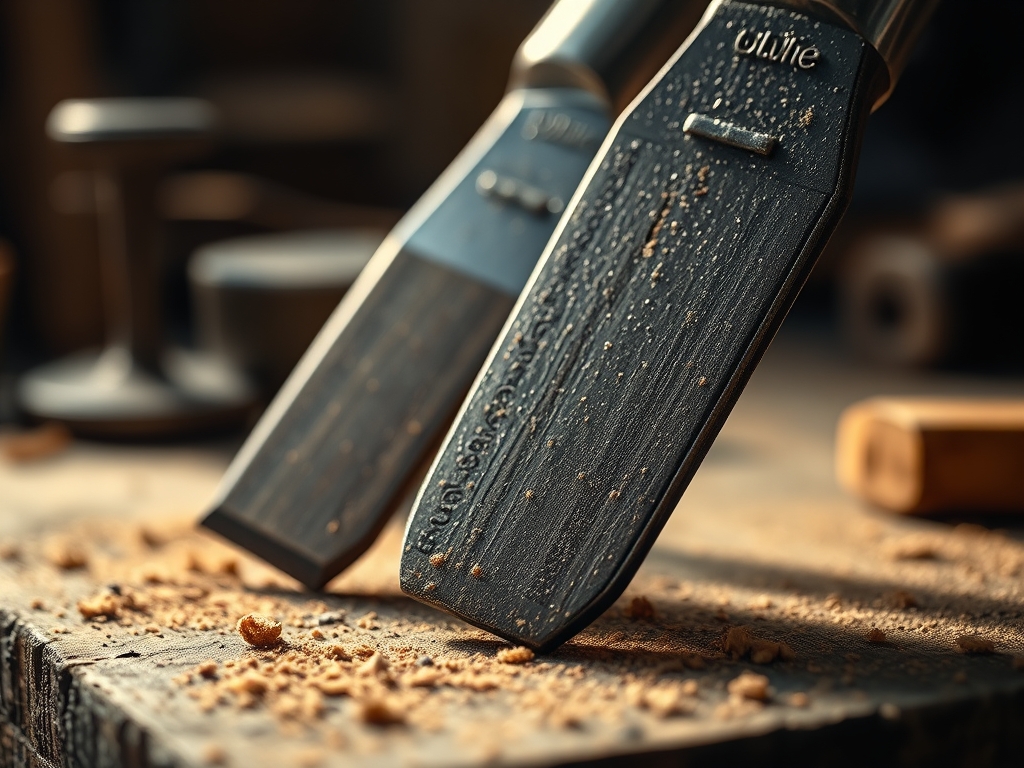
Heat the end of your scrap metal until it reaches a bright orange hue. Place the tip on the far edge of the anvil and strike with a slight angle. This process, known as drawing out, increases the length of the metal while decreasing its cross-section. Rotate the piece ninety degrees between strikes to maintain a square profile.
Mastery Tip: This phase relies on plastic deformation. By striking the metal, you are physically displacing the grains. If you strike too cold, you risk internal fractures; if you strike too hot, you may cause the steel to "spark" and burn, ruining the structural integrity.
2. Squaring the Round
If you are using rebar, you must transform the circular profile into a square one. This provides better structural stability and prevents the piece from rolling under the hammer. Strike the high points of the round stock to create four flat faces.
Mastery Tip: This is a lesson in geometry and force distribution. A square cross-section offers higher resistance to bending in the vertical plane than a round one of the same mass, which is vital for a load-bearing wall hook.
3. Creating the Finial Scroll
Use the cross-peen end of your hammer to thin the very tip of your taper into a delicate point. Over the edge of the anvil, gently tap the tip downward to start a small curl. This is purely aesthetic but demonstrates your control over the ductility of the steel.
Mastery Tip: The scroll utilizes cantilevered force. By working over the edge of the anvil, you use the air as a secondary forge, allowing the thin tip to cool slightly so it does not collapse while you shape the thicker section behind it.
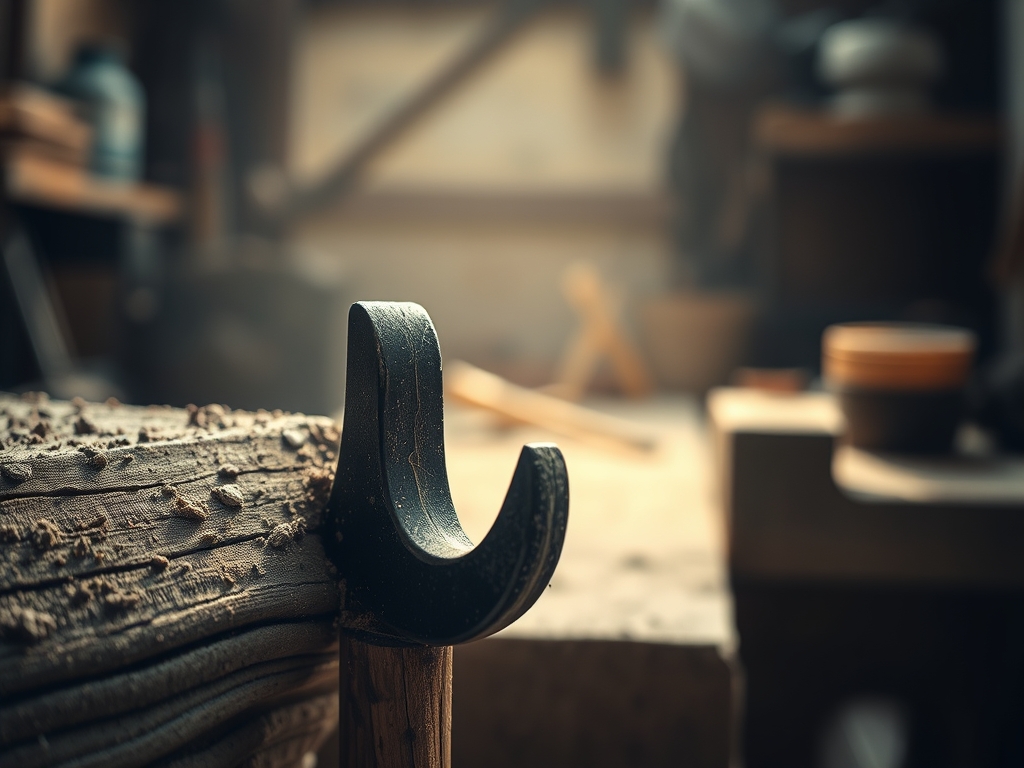
4. Bending the Main Hook
Heat the middle section of your tapered bar. Move to the anvil horn, which is the conical end of the anvil. Use the curve of the horn to shape the primary U-bend of your hook. Use light, glancing blows to avoid marring the surface of the metal.
Mastery Tip: This step involves surface tension management. If you strike too hard in one spot, you will create a "neck" or a thin point that becomes a failure zone. Distribute your strikes evenly along the curve to maintain a consistent gauge throughout the bend.
5. Punching the Mounting Hole
Flatten the top end of the hook (the part that will sit against the wall) to create a "spade" shape. Use a steel punch and a heavy hammer blow to drive a hole through the center. Do this over the pritchel hole or the hardie hole on your anvil so the punch has somewhere to go.
Mastery Tip: This is a displacement technique. Unlike drilling, which removes material, punching moves the material aside, which actually densifies the steel around the hole, making the mounting point stronger.
THE TECHNICAL LEDGER
Maintenance & Longevity: Steel is prone to oxidation. Once your hook is finished but still warm to the touch (around 400 degrees Fahrenheit), rub it with a block of beeswax or linseed oil. This creates a polymerized barrier that prevents moisture from reaching the iron.
Material Variations:
- Recycled: Rebar is cheap but contains inconsistent carbon levels.
- Sustainable: Look for "foundry-direct" scrap which reduces the carbon footprint of shipping.
- Premium: Use W1 tool steel if you want a hook that can be hardened and tempered for industrial loads.
The Correction:
- The Fish-Mouth: If the end of your taper splits, you struck it while it was too cold. Fix: Cut off the split end with a hacksaw or oscillating tool and restart the taper at a higher heat.
- The Twist: If the hook looks crooked, your hammer blows were off-center. Fix: Reheat the piece and use a bench vise to gently twist it back into alignment.
- The Scale Pits: If the surface is deeply pitted, you did not brush away the oxide. Fix: Use a flap disc on an angle grinder to smooth the surface before applying the finish.
Studio Organization: Store your scrap steel in a dry, elevated rack. Avoid keeping it on concrete floors, as the porous nature of concrete wicks moisture upward, leading to surface rust that will require more aggressive cleaning before you can begin Forging a Basic Hook.
THE FINAL REVEAL
Look at that! You have successfully turned a piece of industrial waste into a handcrafted tool. The finished hook should have a dark, satiny luster from the wax finish and a weight that feels substantial in your hand. The transition from the thick mounting plate to the delicate, scrolled tip is a visual map of the energy you poured into the anvil. This piece is not just a place to hang your keys; it is a testament to your ability to manipulate the physical world through heat and force. It is rugged, honest, and utterly permanent.
STUDIO QUESTIONS
What is the best temperature for forging steel?
Steel is most workable between 2,100 and 2,300 degrees Fahrenheit. This is visually indicated by a bright yellow or lemon color. Working below a dull red heat can cause internal stress fractures and permanent material failure.
Can I forge a hook without a professional anvil?
Yes, a heavy block of scrap steel or a section of railroad track can serve as an improvised anvil. The key is mass; you need a solid base to reflect the energy of your hammer back into the workpiece.
How do I prevent the hook from rusting indoors?
Apply a traditional blacksmiths finish by rubbing beeswax or boiled linseed oil onto the steel while it is still warm. This creates a durable, moisture-resistant coating that highlights the natural texture of the forged metal.
Why did my steel snap during the bend?
The steel likely reached a "red short" state or was worked at too low a temperature. This causes the grain structure to tear rather than flow. Always ensure the metal is at least a bright cherry red before bending.
What hammer weight is best for beginners?
A 2-pound cross-peen hammer is the industry standard for beginners. It provides enough mass to move the metal efficiently without causing rapid muscle fatigue, allowing for better control over the ergonomic strike path during the forging process.