
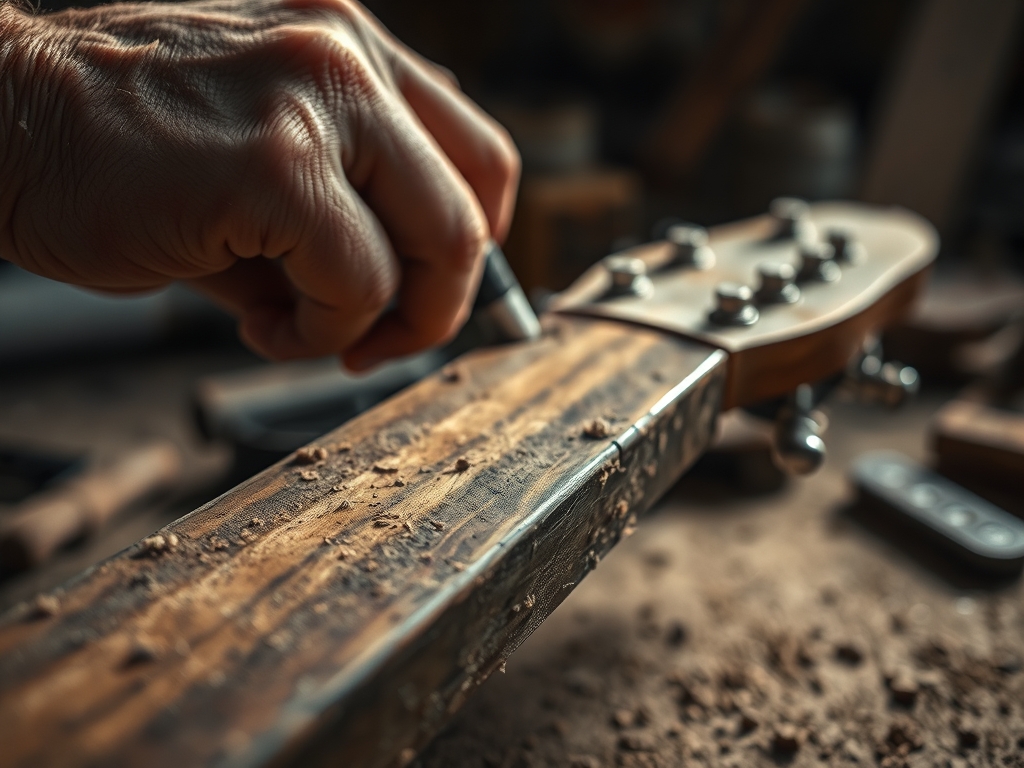
Close your eyes and imagine the first time you wrap your hand around a vintage instrument. It is not just about the wood; it is about the way the curves meet your palm with an almost magnetic pull. That specific, buttery smoothness is the result of Hand Shaping a Guitar Neck with obsessive precision. While CNC machines are great for mass production, they cannot feel the grain. They cannot sense the subtle shifts in tensile strength as the tool removes material. When we talk about that "broken in" feel, we are talking about a craftsman spending hours reading the soul of a piece of lumber.
The physics of a guitar neck are surprisingly complex. We are balancing the longitudinal tension of six steel strings against a slender piece of maple or mahogany. If the shape is off by even a fraction of a millimeter, the player feels it instantly. This is where the magic happens. We are not just making a handle; we are sculpting a structural component that must resist warping while feeling like a natural extension of the human hand. It is a dance between ergonomic design and structural integrity that only hand work can truly perfect.
THE STUDIO KIT
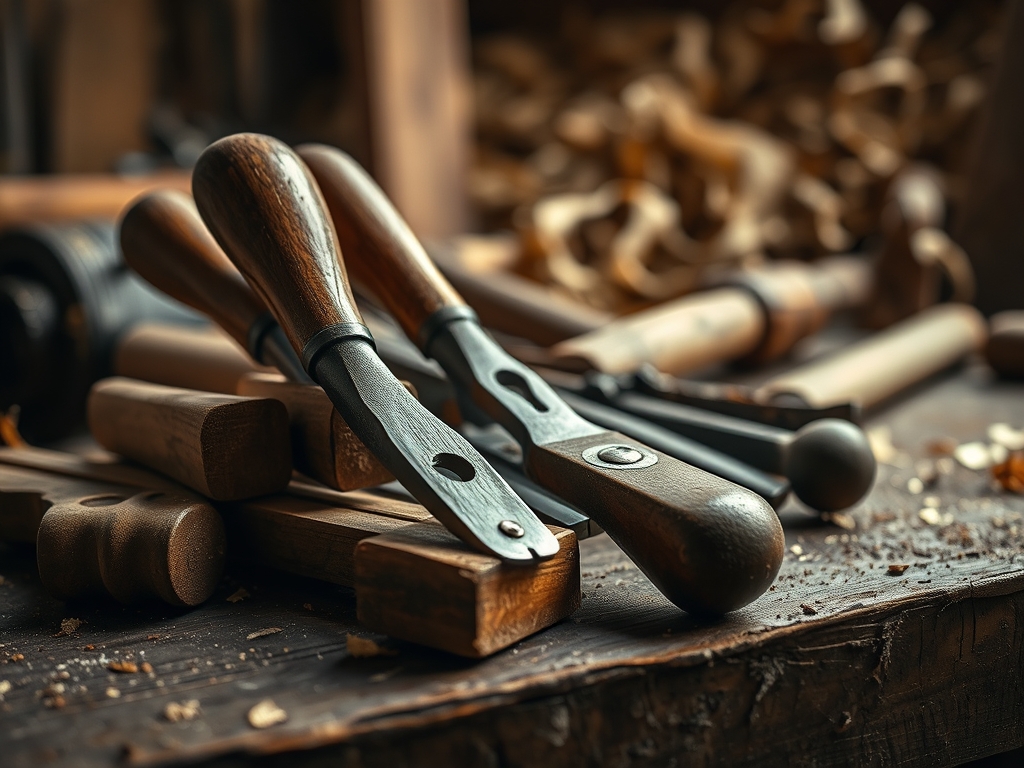
To master this craft, you need a kit that respects the **porous nature** of the wood while allowing for aggressive material removal. We start with a **Shinto rasp**, a Japanese tool made of saw blades riveted together. It is incredible for hogging off waste without tearing the fibers. For the finer transitions, you will reach for a **spokeshave**, which allows you to take long, continuous shavings that reveal the grain’s true direction.
You must also have a set of digital calipers to measure the thickness at the first and twelfth frets. Precision is your best friend here. For the final smoothing, we use cabinet scrapers. Unlike sandpaper, which can dull the crisp lines of a neck, a scraper shears the wood fibers, leaving a surface that is almost reflective.
Material Substitutions: If you cannot source premium quartersawn maple, look for roasted woods. The roasting process, or torrefaction, removes moisture and hemicellulose, making the wood more stable and less prone to atmospheric changes. If a Shinto rasp is out of reach, a coarse half-round file can work, though it requires more frequent cleaning with a file card to prevent "pinning," where metal shards scratch your work.
THE TEMPO
The "Maker's Rhythm" is all about pacing. You cannot rush the wood. A professional neck shape usually takes between four to six hours of active carving, spread over two days. Why the wait? When you remove a large amount of material, the internal residual stresses of the wood can cause it to shift.
The first hour is the "Hogging Phase," where the bulk of the square blank is removed. The next two hours are the "Refinement Phase," where you establish the profile (C, V, or U shape). The final hours are the "Detailing Phase," where you blend the heel and the headstock volute. Giving the wood a night to "rest" between the refinement and detailing phases ensures that any movement happens before you reach your final dimensions.
THE CORE METHOD
1. Establishing the Facets
We begin by drawing layout lines on the back of the neck. Instead of trying to carve a curve immediately, we carve flat planes called facets. By using a spokeshave to create a 45-degree angle along the edges, we create a roadmap for the final shape. This method ensures the neck stays symmetrical.
Mastery Tip: Always carve with the grain to prevent "tear-out." If the wood feels rough or the tool "chucks," you are carving against the grain orientation. Reverse your direction to maintain the structural integrity of the surface fibers.
2. The Rasping Transition
Once the facets are established, use the Shinto rasp to knock down the "peaks" between the flats. This is a high-energy stage. You are looking for a consistent tactile feedback from the tool. Use long, sweeping motions that span the entire length of the neck to avoid creating dips or "bird eyes" in the wood.
Mastery Tip: Use a "raking light" set at a low angle across your workbench. This highlights high spots through shadows that are invisible under direct overhead lighting, allowing for a more accurate ergonomic profile.
3. Blending the Heel and Volute
The heel (where the neck meets the body) and the volute (the transition to the headstock) require the most finesse. Use a half-round rasp and then a scorp or a small chisel for these tight curves. These areas are under high stress, so transitions must be smooth to avoid creating "stress risers" that could lead to cracks.
Mastery Tip: The volute is not just decorative; it adds mass to the weakest point of the neck. By leaving slightly more material here, you increase the stiffness-to-weight ratio, which can actually improve the instrument's sustain.
4. The Final Burnish
After scraping the neck to its final dimensions, we do not just sand; we burnish. Using a high-grit abrasive or even a piece of polished bone, we compress the surface fibers. This creates a natural seal that resists hand oils and moisture.
Mastery Tip: Before the final sanding, "whisker" the wood by wiping it with a damp cloth. This causes the loose fibers to stand up through capillary action. Once dry, sand them off for a finish that stays smooth even in high humidity.
THE TECHNICAL LEDGER
Maintenance & Longevity: A hand-shaped neck should be checked annually for "fret sprout," where the wood shrinks and the metal frets protrude. Keeping the instrument in a controlled environment with 40 to 50 percent humidity is vital for the dimensional stability of the wood.
Material Variations:
- Premium: Quartersawn Flame Maple (High density, beautiful aesthetics).
- Sustainable: Bamboo Ply (High tensile strength, very eco-friendly).
- Recycled: Reclaimed Old-Growth Pine (Lightweight, resonant, but requires a carbon fiber reinforcement rod).
The Correction:
- The Overshoot: If you carve too thin, you cannot put wood back. The fix is a "veneer lamination" on the back, though this is a major repair. Always measure twice!
- Asymmetry: If one side feels "fatter," use a profile gauge to compare the two sides. Small adjustments with a cabinet scraper usually fix this.
- Grain Tear: If the rasp catches and rips a chunk out, use a mixture of the same wood's dust and cyanoacrylate (CA) glue to fill the void, then re-level.
Studio Organization: Store your neck blanks vertically or in a specialized rack. Never lay them flat on a concrete floor, as the moisture gradient between the wood and the floor will cause a permanent bow.
THE FINAL REVEAL
There is nothing quite like the moment you take that final swipe with a cabinet scraper and the wood feels like polished stone. A hand-shaped neck is a masterpiece of functional art. It feels warm, responsive, and perfectly tailored to the human anatomy. When you bolt that neck onto a body and string it up, the resonance is different. It is tighter, more controlled, and infinitely more comfortable. You have turned a block of timber into a tool for expression.
STUDIO QUESTIONS
Why is quartersawn wood better for guitar necks?
Quartersawn wood has grain lines running vertically through the thickness. This orientation provides superior dimensional stability and resistance to bowing under string tension compared to flatsawn lumber, ensuring the neck stays straight over decades of use.
Can I shape a neck using only sandpaper?
While possible, it is inefficient. Sandpaper rounds over crisp lines and can create an uneven surface. Using mechanical cutting tools like rasps and scrapers allows you to maintain control over the geometry and prevents "clogging" the wood's pores.
What is the most common mistake in hand shaping?
The most common error is failing to check the thickness frequently with calipers. Makers often get caught up in the "feel" and accidentally carve the neck too thin, compromising the structural integrity and the truss rod's effectiveness.
How do I know when the shape is "finished"?
The shape is finished when the ergonomic transitions between the facets are seamless and the neck meets your target measurements at the 1st and 12th frets. It should feel consistent to your grip across the entire length.

